You can know aperture, shutter speed and ISO and still feel completely lost the moment you pick up a camera. This is normal and it has a specific cause. Here is what this article covers:
- Why learning photography tips one at a time can make things feel harder, not easier.
- Why different photographers give different advice and both can be right.
- How giving your camera settings a clear order changes everything.
- The five-step process we teach at SPW: ISO, aperture, shutter speed, check, adjust.
- How deliberate practice turns camera settings into instinct, not just knowledge.
- How to diagnose your photography mistakes instead of just feeling disappointed.
- All of this is taught in a clear, connected order in the 8-Week Beginner Photography Course at Sydney Photographic Workshops.
One of the strange things about learning photography is that you can know quite a lot and still feel as though you have no idea what you are doing.
You know aperture affects depth of field. You know shutter speed affects movement. You know ISO becomes more important as the light drops. You may know which autofocus mode tracks a moving subject, what focal length you like for portraits and where to find most of the important controls on your camera.
Then somebody asks you to take a photograph.
Suddenly all of that information is competing for attention at the same time.
Which aperture? What shutter speed? Should I raise the ISO? Where should I focus? Why is the meter moving? Is the background too bright? Should I change lenses?
And while you are thinking about all of that, the photograph you noticed in the first place has disappeared.
We see this regularly with beginners in our photography classes in Sydney, and it is one of the reasons photography can sometimes feel harder after you start learning it. You have not necessarily become more confused. You have simply become aware of more decisions.
The real challenge is learning how those decisions fit together.
Knowing more can initially make photography feel harder: A beginner’s experience
When you first use a camera in Auto mode, there are relatively few decisions to make.
You point the camera at something, compose the frame and press the shutter. The camera handles most of the technical decisions for you.
Then you start learning.
You discover aperture and now every photograph seems to require an aperture decision. Then comes shutter speed. Then ISO, autofocus, focal length, metering, white balance, depth of field and all the other controls begin joining the conversation.
That is progress, although it rarely feels like it at the time.
You are starting to see the individual decisions that were always there. The camera was simply making many of them for you before.
The difficulty is that beginners are often introduced to those decisions one at a time and then expected to bring them together without being shown a clear order.
That is when photography starts to feel chaotic. This is why a better way to learn photography puts structure before volume, teaching you a process for connecting the decisions, instead of just collecting more of them.
Photography is often taught as a collection of answers (and why that confuses beginners)
A lot of photography advice is perfectly correct.
- Use a fast shutter speed to freeze action.
- Use a wide aperture for a blurred background.
- Keep ISO low for the best image quality.
- Use continuous autofocus for moving subjects.
- Use a tripod for long exposures.
None of those statements is inherently wrong. The problem begins when they are treated as universal answers.
Imagine you want to photograph someone walking through a city street.
You have heard that portraits look good with a wide aperture, so you choose f/2. You have also heard that low ISO gives you cleaner files, so you stay at ISO 100.
The light is fading and your shutter speed drops to 1/30 second.
The background looks beautifully soft.
Your subject is blurry.
Which piece of advice failed?
None of it.
The aperture advice was about depth of field. The ISO advice was about image quality. The photograph in front of you had a movement problem.
Once you recognise that, the apparent contradiction disappears.
Photography becomes much easier when you stop asking whether a piece of advice is correct and start asking what problem it is designed to solve. To understand how aperture, shutter speed, and ISO each shape the photograph differently, the key is to see each setting as a tool with a specific job.
Different photographers can give you different answers and both be right
This catches beginners all the time.
One photographer says never let your ISO go above 1600. Another happily works at ISO 6400. Someone tells you portraits should be shot at f/1.8. Another works at f/8. One person says Aperture Priority is the best general-purpose mode. Another teaches Manual Mode.
It can sound as though everybody disagrees.
Usually, they are photographing different things, working in different conditions or placing different priorities on the result.
A wedding photographer moving quickly through changing light may make very different choices from a studio portrait photographer working under controlled lighting.
A landscape photographer using a tripod can happily work with a shutter speed of several seconds. Someone photographing children running around cannot.
A sports photographer may accept high ISO because shutter speed matters more than noise.
The advice only makes sense when you understand the photograph behind it. Without that context, photography education becomes a pile of apparently contradictory rules. The question to ask is always: what photographic problem was this advice designed to solve?
Give your camera settings a clear order
One of the most useful things you can do when learning photography is stop treating every setting as equally urgent.
Some decisions need to happen before others.
Manual exposure is a good example, and understanding and learning Manual Mode earlier than most courses teach it is one of the reasons this approach works.
The five-step process we teach gives students an order:
| THE SPW FIVE-STEP EXPOSURE PROCESS: |
| 1. Choose ISO based on the available light. Bright daylight, indoors, or evening; match your sensitivity to the conditions. |
| 2. Choose aperture based on the depth of field the photograph needs. One person or five? Close or distant background? Set it and leave it. |
| 3. Use shutter speed to measure the exposure. Adjust until the meter sits around zero. |
| 4. Check that the shutter speed suits the subject. Is it fast enough for the movement? Or slow enough for a creative effect? |
| 5. If the shutter speed is too slow, raise the ISO and reset the shutter speed. The ISO is there to give your other decisions room to work. |
The value of that sequence is not the numbers themselves. It is the way it reduces the number of decisions competing for your attention.
Once the ISO is chosen, you do not need to keep thinking about ISO unless something changes. Once you have selected the aperture for the depth of field you want, you can usually leave that alone too.
Now shutter speed becomes the control you are actively watching.
Instead of three dials moving at once, you have a sequence.
This is one of the biggest changes I see when students in our Sydney photography workshops begin to settle into Manual Mode. At first, they touch everything. A photograph is dark, so aperture changes, then ISO, then shutter speed, then aperture again.
A few weeks later, the thinking is much calmer.
The shutter is too slow.
I need more ISO.
That is a much more useful place to be.
Practice is what turns camera settings into instinct
Experienced photographers are not usually consciously processing every technical detail before each frame.
Many decisions have simply become familiar.
If I walk into bright daylight, I already have a rough idea of where my ISO might begin. If I am photographing one person at close range, I already understand the depth-of-field issues I need to consider. If that person suddenly starts running, I know shutter speed has become more important.
Those decisions have not disappeared. They simply demand less attention.
This is why practice matters.
Not because you need to take thousands of photographs for the sake of it, but because repetition gives technical numbers meaning.
The first time you learn shutter speed, 1/60, 1/250 and 1/1000 are just numbers.
After you have photographed movement at all three, you begin to remember what they look like.
You know what happened to a moving hand at 1/60. You remember when 1/125 was not enough. You recognise why you felt safer at 1/500 when somebody started moving quickly.
The next time a similar situation appears, you have something real to draw on.
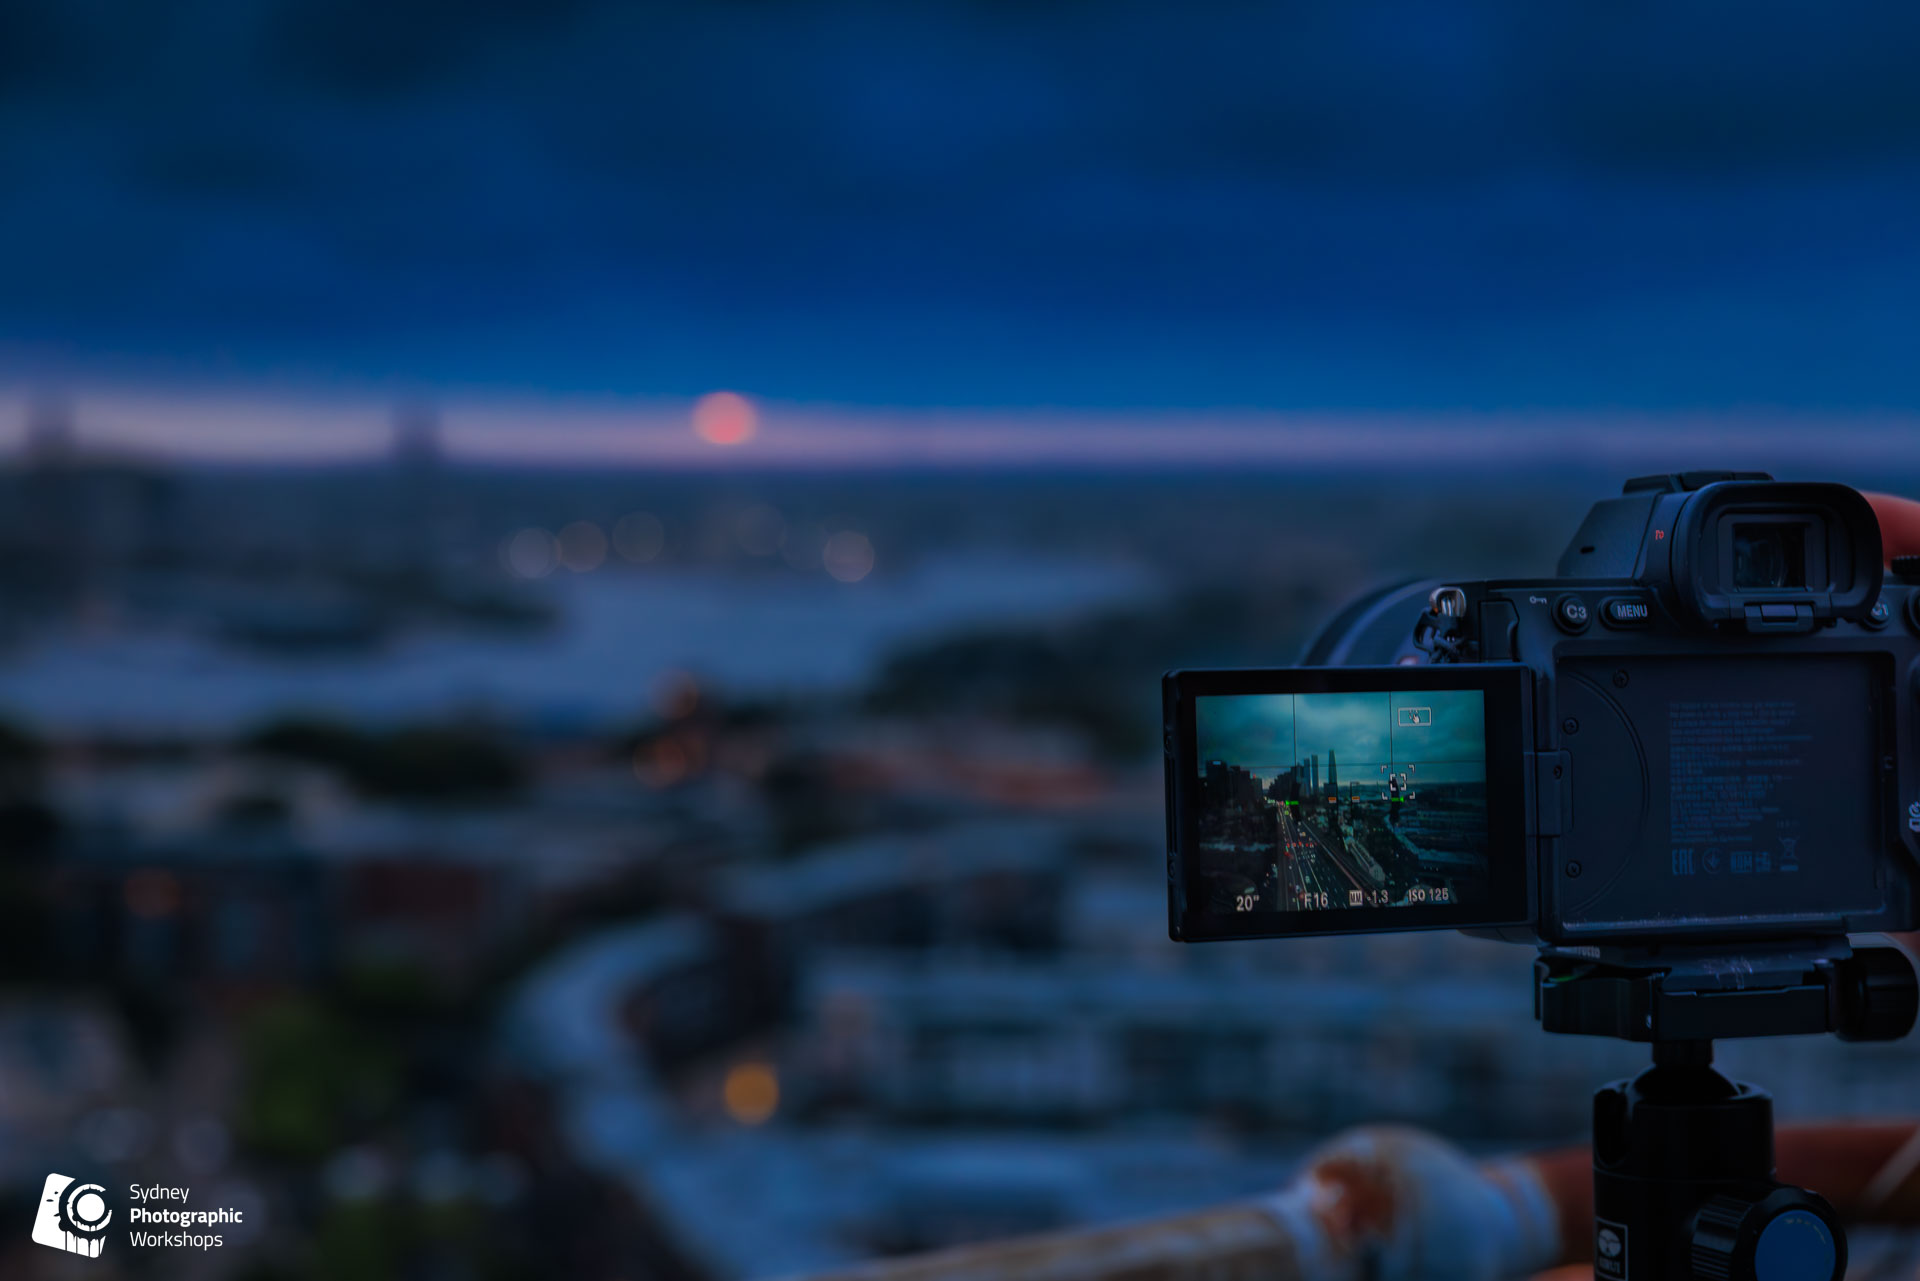
If you want guided practice in a low-stakes environment before committing to a full course, the Photography Essentials workshop is a practical half-day around Sydney Harbour where you work through exactly these exercises with a professional photographer alongside you.
Learn photography concepts separately, then bring them back together
I strongly believe in learning individual concepts one at a time.
If you are learning shutter speed, go out and photograph movement deliberately at several shutter speeds.
If you are learning aperture, photograph the same subject at different apertures and compare the depth of field.
Give each idea enough attention to understand what it actually does.
But eventually those ideas need to come back together.
A real photograph does not isolate one technical concept for you.
You may be concentrating on shutter speed, but the subject still needs to be in focus. The aperture still affects depth of field. The background is still there. The light is still changing.
That is why structured repetition works so well in our DSLR photography classes in Sydney.
You first meet shutter speed as an isolated concept, then again during portraiture, movement, low light, field photography and flash. Each time it appears in a slightly different context, the connection becomes clearer.
Eventually you are no longer thinking about shutter speed as a separate subject.
You are thinking about the photograph.
Confusion in photography often means the connections are still forming
Beginners are sometimes too hard on themselves.
They learn aperture one week, shutter speed the next and ISO after that, then assume they should immediately be able to manage all three while photographing a moving person in difficult light.
Photography rarely settles in that quickly.
There is a stage where you understand each idea individually but the connections between them are still forming.
You know what aperture does.
You know what shutter speed does.
You know what ISO does.
But when the shutter speed falls too low, it may not yet occur to you automatically that raising ISO is the cleanest solution because you want to keep the aperture where it is.
That connection comes through use.
It is one reason I would rather students make mistakes and understand them than simply receive a correct setting from me.
If I tell you to use ISO 1600, f/4 and 1/250, you may get a good photograph.
If you arrive at those settings because you recognised that the person was moving, wanted f/4 for the depth of field and needed ISO 1600 to make 1/250 possible, you have learnt something you can use again.
Your photography mistakes become useful once you can diagnose them
Early on, a disappointing photograph can feel like one large failure.
“It didn’t work.”
That does not give you much to work with.
As your understanding improves, the diagnosis becomes more specific. And when understanding matters more than memorising settings, the diagnostic questions become your most useful tool.
If the photograph is blurry, ask what caused the blur. Was the subject moving? Was the camera moving? Did autofocus miss?
If the background is sharper than you wanted, look at the depth-of-field decisions. Was the aperture too small? Were you too far from the subject? Was the subject too close to the background?
If the photograph is too dark, ask what actually changed. Did the light fall? Was the meter influenced by something unusually bright or dark? Is your shutter speed already where it needs to be? Could ISO solve the problem without changing the look of the photograph?
This is where technical knowledge becomes genuinely useful.
You are no longer trying to remember every photography rule.
You are narrowing the problem.
The more accurately you can identify what went wrong, the fewer controls you need to touch.
| EARLY STAGE THINKING | AS UNDERSTANDING DEVELOPS |
|---|---|
| “It didn’t work.” | “My shutter speed was too slow.” |
| “The camera did something weird.” | “I focused behind them.” |
| “It’s too dark again.” | “The meter shifted — the light hasn’t changed.” |
| “Maybe I need a better camera.” | “I need more ISO to keep 1/250.” |
Stop rebuilding your camera settings for every frame
Another common beginner habit is starting again every time the camera comes up to the eye.
Take a photograph.
Look at the meter.
Change something.
Move slightly.
Look at the meter again.
Change something else.
Recompose.
Change everything again.
It is exhausting, and often unnecessary.
Ask what has actually changed.
- Has the light changed?
- Has the subject started moving?
- Do you now want a different depth of field?
- Have you moved into a genuinely different environment?
If none of those things has happened, there may be no reason to change your settings at all.
This is particularly useful in stable light. Once you have established an exposure that works, keep photographing.
The meter may move as brighter or darker things enter the frame, but that does not necessarily mean the light falling on your subject has changed.
Do not chase every piece of information the camera gives you.
Use it when it is relevant.
The technical side should give you more time to look at the photograph
There is a point in learning photography where the technical side can become so consuming that you stop looking.
You are staring at the meter.
You are checking ISO.
You are zooming into the rear screen to check sharpness.
Meanwhile, the background is terrible.
The light is better two metres away.
The expression has disappeared.
Someone interesting has walked through the frame and gone.
Technical understanding should eventually give you more attention for those things. That is the reason for having a process. Get the camera into a sensible place, then look up.
- What is happening?
- Where is the light?
- What is distracting?
- Could you move?
- Should you wait?
- Is there actually a photograph here?
The settings matter enormously, but they are there to serve the photograph.
Common questions about learning photography
Why does photography feel confusing even when I know the settings?
Knowing what each setting does and knowing when to choose it are two different skills. Most beginners learn aperture, shutter speed and ISO as separate facts, but are never shown a clear order for applying them in real situations. When all three decisions compete for attention at once, photography feels chaotic. The fix is a repeatable process: choose ISO first based on light, aperture second based on depth of field, then using shutter speed to meter, so that only one decision is actively changing at a time.
Why do different photographers give different advice about camera settings?
Because they are photographing different subjects in different conditions with different priorities. A wedding photographer in changing light makes different choices to a studio photographer. A sports photographer accepts high ISO because freezing movement matters more than noise. Advice is only useful when you understand the photographic problem it is solving. Context always comes first.
What order should I change camera settings in?
A reliable order for beginners: (1) Choose ISO based on the available light. (2) Choose aperture based on the depth of field the photograph needs. (3) Use shutter speed to bring the exposure to the right brightness. (4) Check that the shutter speed is appropriate for any movement. (5) If the shutter speed is too slow, raise ISO and correct the shutter speed. This sequence reduces the number of decisions competing for your attention at once.
How long does it take for camera settings to feel natural?
It varies, but the shift happens through deliberate practice rather than time. The key is practising one concept at a time, photographing movement at several shutter speeds or the same subject at different apertures, until the results are familiar. Once you remember what 1/60 looks like on a moving hand, that knowledge is ready to use. Structured courses in Sydney that revisit each concept across multiple sessions tend to accelerate this considerably.
What should I do when a photograph doesn’t work?
Ask a specific question rather than accepting a general failure. If the photograph is blurry: was it subject movement, camera shake, or missed autofocus? If only one person in a group is sharp: where did you focus and was the aperture creating enough depth of field? If it is too dark: has the light changed, or did the meter shift because something bright entered the frame? The more precisely you can identify the cause, the fewer controls you need to change.
Learning photography in Sydney becomes simpler when the pieces connect
The early stages of learning photography can feel messy because you are accumulating information faster than you can organise it.
The solution is not more random information.
You need structure, repetition and enough time with the camera for the decisions to begin connecting.
Learn one idea clearly. Practise it. See what changes. Then connect it to the next decision.
Aperture begins as depth of field. Later you discover how changing it affects the shutter speed you can use.
Shutter speed begins as movement. Later it becomes one of the ways you recognise that your ISO is no longer practical.
ISO begins as another exposure number. Eventually you understand it as the control that can give your aperture and shutter speed room to work.
The same thing happens with focus, focal length, composition and light.
Gradually, the pieces stop feeling separate.
You spend less time asking, “What setting should I use?” and more time asking, “What does this photograph need?”
That is when photography starts to feel much less confusing.
Learning photography with Sydney Photographic Workshops
This is the approach behind the SPW 8-Week Beginner Photography Course. The individual controls are introduced in stages so students have time to understand what each one does, then deliberately brought back together through practical exercises, field photography and image review.
The aim is not to give you a collection of settings to remember. It is to give you a dependable way of thinking when the camera is in your hands and the photograph is happening in front of you.
Classes run from our Alexandria studio, just a short walk from Redfern station, with boutique class sizes of maximum 12 participants taught by award-winning working photographers.
Ready to stop feeling confused and start shooting with confidence?
Join Sydney’s most popular beginner photography course. A clear, structured process and not just a pile of tips. 8 weeks, 19 hours, boutique classes with a maximum of 12 participants.