Aperture, shutter speed and ISO all affect exposure, but each one also changes the image in a specific way. Understanding what each setting does to the photograph is far more useful than memorising numbers. This article covers:
- What is aperture in photography? It controls depth of field, not just brightness. Smaller f-number = shallower depth of field.
- What is shutter speed in photography? It controls how movement is recorded.
- What is ISO in photography? It gives your aperture and shutter speed choices room to work in the available light.
- The exposure triangle connects all three, but the question to ask first is: What does this photograph need?
- Similar exposure settings can produce very different photographs. The combination matters.
- These camera settings are taught in a clear, practical order in the 8-Week Beginner Photography Course at Sydney Photographic Workshops.
Aperture, shutter speed and ISO all affect the brightness of a photograph, but each setting also changes the image in a different way. Once you understand those separate jobs, the numbers become much easier to choose.
Aperture, shutter speed and ISO are usually introduced as the three settings that control exposure.
That is true.
It is also where a lot of the confusion begins.
Beginners learn that aperture controls light, shutter speed controls light and ISO changes brightness. Then they are shown an exposure triangle and told that the three settings need to balance.
Technically, that makes sense.
Photographically, it leaves out the most important part.
Each setting changes something about the photograph. Aperture affects depth of field. Shutter speed affects how movement is recorded. ISO gives you the flexibility to use the aperture and shutter speed the photograph needs in the available light.
So rather than starting with:
What settings will give me the correct exposure?
I prefer to start with:
What does the photograph need?
Once you know that, the numbers become much easier to deal with.
This is exactly the approach we take in our photography courses in Sydney, understanding what each camera setting does to the image, not just to the brightness. For a broader look at why this matters when learning photography, a better way to learn photography explores the same idea in depth.
Aperture explained: How much needs to appear sharp in your photograph?
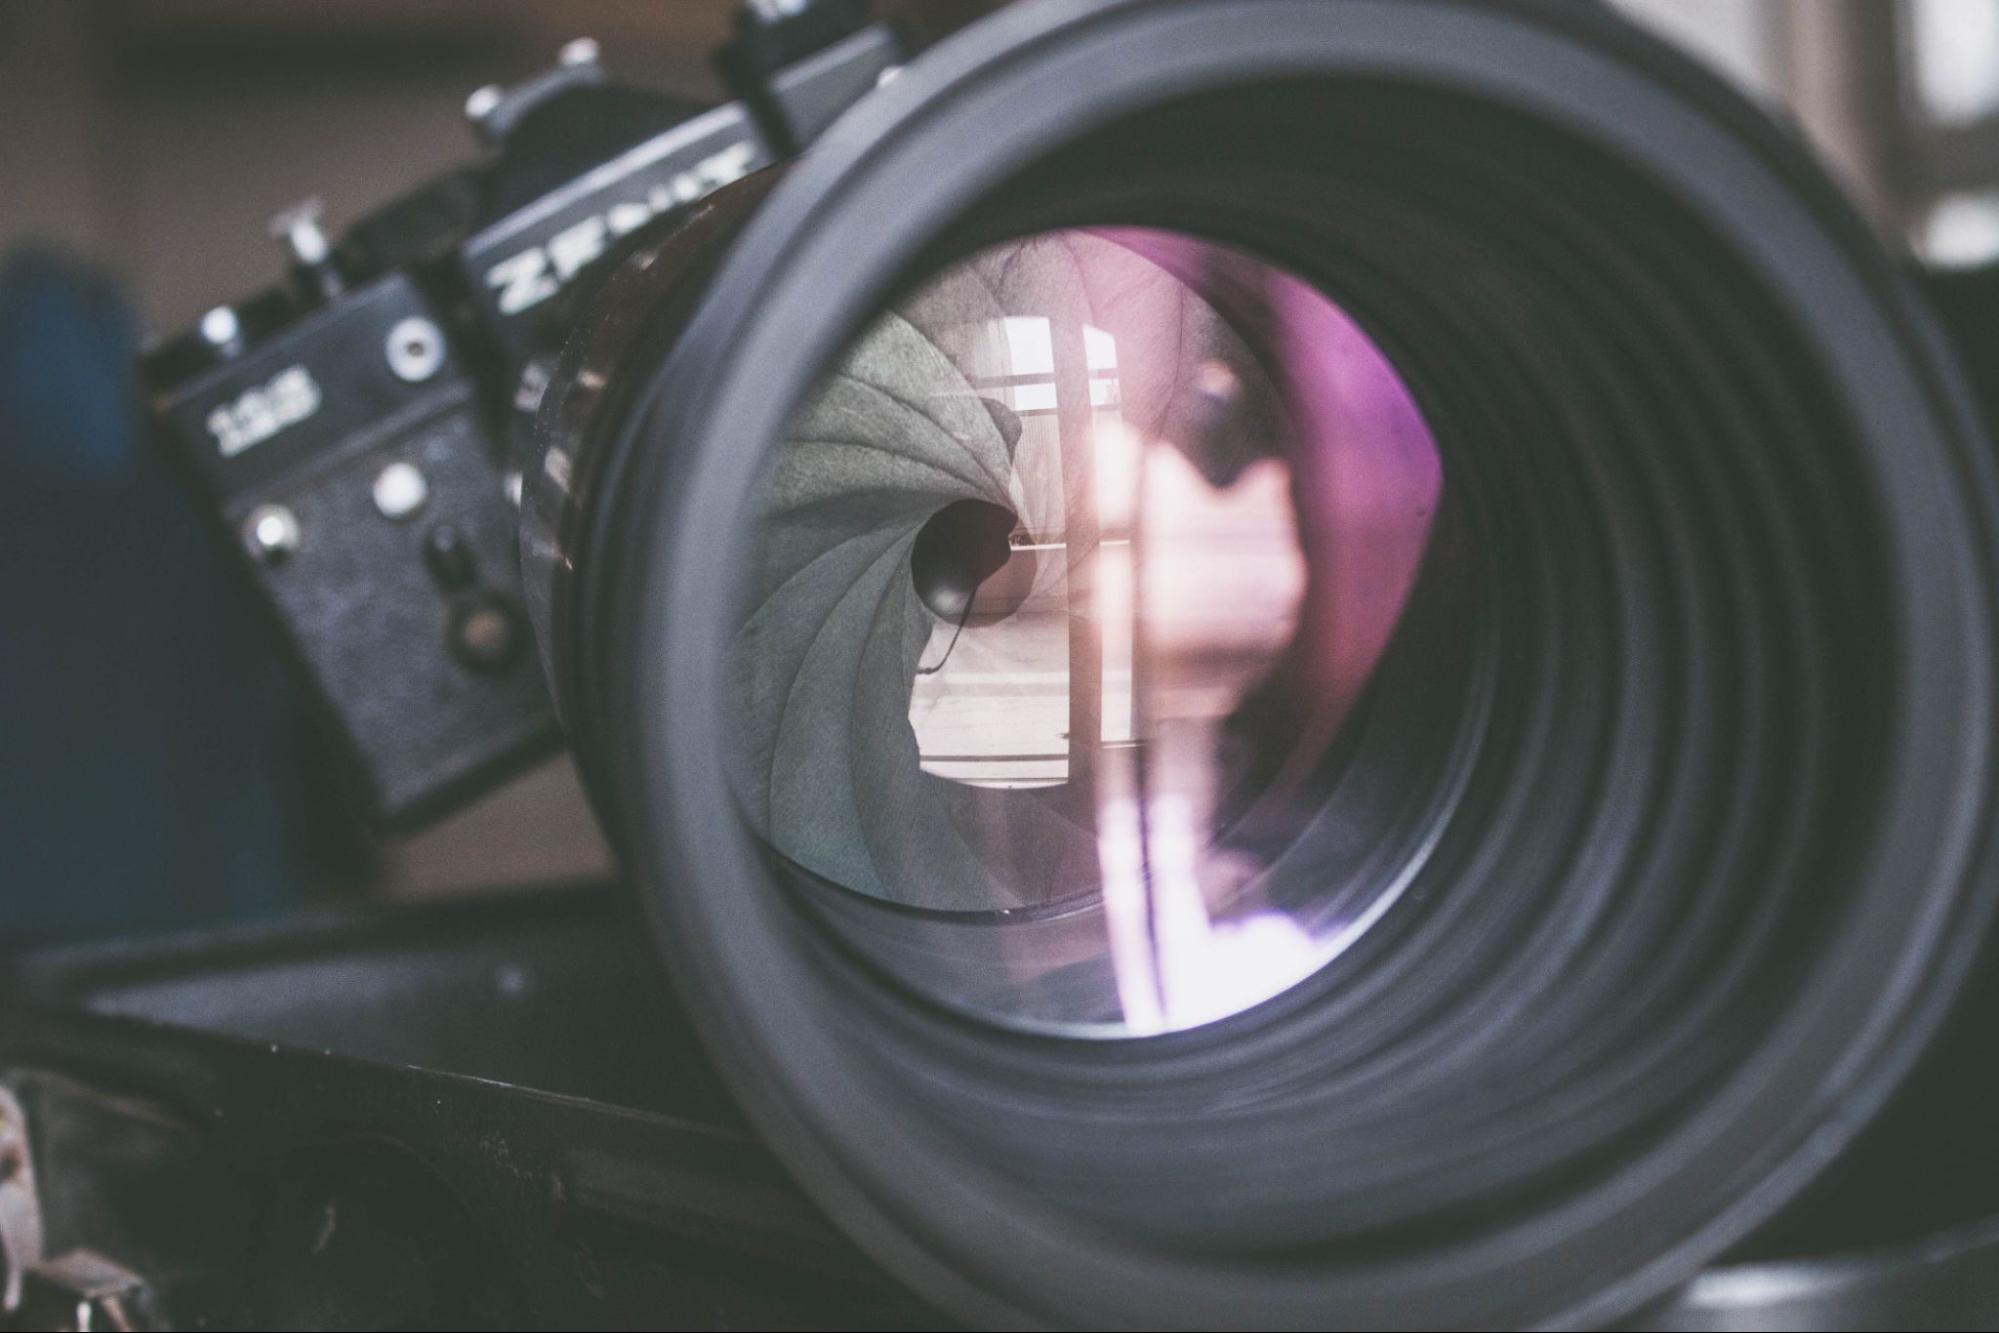
Aperture is the opening inside the lens that controls how much light reaches the sensor. It is shown as an f-number, such as f/2, f/2.8, f/4, f/5.6, f/8 or f/11.
At first, those numbers can seem a little strange. A smaller f-number gives you a wider opening, while a larger number gives you a smaller opening.
There is a reason for it.
The f-number describes the relationship between the focal length of the lens and the effective diameter of the aperture. At f/8, the opening is effectively one-eighth of the focal length. At f/2, it is one-half.
Half is bigger than an eighth, which is why f/2 gives you the larger opening and lets in more light.
You do not need to calculate any of this while taking photographs. It simply explains why the numbers behave the way they do.
When I am actually choosing an aperture, I am usually thinking first about depth of field.
Understanding aperture in photography means understanding depth of field: how much in front of and behind your focus point also appears acceptably sharp.
Imagine photographing one person and focusing on their eye. The plane you focus on is where the image is sharpest. Depth of field describes how much in front of and behind that plane also appears acceptably sharp.
At a wider aperture such as f/2.8, the depth of field may be relatively shallow. At f/8, more of the scene may appear acceptably sharp.
A simple way I explain the basic relationship in class is:
Smaller number, smaller depth. Bigger number, bigger depth.
That assumes the other important factors remain similar, but it gives you an easy way to remember which direction you are going.
There is another distinction that matters. Changing the aperture does not move your point of focus.
If you focus on someone’s ear instead of their eye, changing from f/2.8 to f/8 does not move focus onto the eye. You may gain enough depth of field for the eye to also appear acceptably sharp, but the place you actually focused remains where it was.
Focus decides where.
Aperture helps decide how much around it.
Once you start thinking this way, aperture becomes much more useful than a number on the camera. One person against a distracting background might look great at f/2.8. Five people arranged in two rows probably need more depth. A landscape with important detail in the foreground and distance presents another problem again.
There is no aperture that is simply best. The depth you need depends on the photograph you are making.
Aperture is only part of the depth-of-field decision in photography
The simple aperture rule is useful, but depth of field is also affected by other things.
Your distance from the subject matters. Focal length matters. Sensor format can matter when comparing equivalent framing between different camera systems.
Move closer to your subject and depth of field generally becomes shallower. Move further away and it becomes deeper.
This is one reason close-up photography can be surprisingly difficult. You might be using f/11 and still have only a narrow area appearing sharp because the camera is so close to the subject.
The distance between your subject and the background also has a big effect on how blurred that background appears.
Put someone half a metre in front of a wall and the wall may remain fairly recognisable. Move them ten metres away from it and the same aperture can give you a much softer background.
The aperture has not changed. What changed is the relationship between the subject and the background.
So if somebody asks, “What aperture should I use to blur the background?”, f/2.8 is not a complete answer.
I also want to know how close you are to the subject, how far the subject is from the background, what focal length you are using and how much of the subject needs to remain sharp.
This is much easier to understand with a camera in your hands.
Find a simple subject with something behind it. A person near a row of trees works well, or even a cup on a table with objects in the background. Keep your camera position roughly the same, focus on the same place and photograph it at a wide aperture, then at f/5.6 and f/11. Adjust your shutter speed or ISO so the overall brightness remains reasonably similar.
Compare the photographs, then move closer and repeat the exercise.
Depth of field makes much more sense when you can actually see it changing.
The Photography Essentials workshop at Sydney Photographic Workshops runs exactly this kind of hands-on exercise around Sydney Harbour, a practical half-day for beginners who want to see these camera settings in action before committing to a full course.
Shutter speed explained: What happens to movement in your photographs?
Shutter speed controls how long the camera records light. An exposure of 1/1000 second is very brief. At 1/30 second, the camera records what happens over a much longer period.
Like aperture, shutter speed affects exposure, but the photographic reason I am usually thinking about it is movement.
There are two kinds of movement to consider: the subject can move, and the camera can move. They can both create blur, but they are different problems and often require different solutions.
Imagine photographing someone sitting quietly in a chair. At 1/125 second, you may have no difficulty keeping them sharp.
Now ask them to run across the room.
Same person, same room, but the shutter speed that worked a moment ago may be nowhere near fast enough.
Or leave the subject sitting still and put a 200mm lens on the camera. Your own camera movement now becomes more noticeable, and a shutter speed that felt comfortable with a wider lens may no longer be enough.
There is an old handheld guideline based on the reciprocal of the focal length. With a 50mm lens on a full-frame camera, you might use around 1/50 or 1/60 second as a starting point. At 200mm, something around 1/200 or 1/250 is safer. With a crop-sensor camera I would generally begin a little faster because the narrower angle of view makes camera movement more noticeable.
Modern image stabilisation can allow you to work below those traditional starting points when the subject itself is still.
It cannot stop the subject moving.
That distinction catches a lot of people when they first start thinking seriously about shutter speed.
Understanding shutter speed in photography means understanding that you may be able to handhold the camera perfectly at 1/30 second, but if somebody walks through the frame during that exposure, they can still blur.
How fast is fast enough? Shutter speed settings for beginner photographers
There is no single shutter speed for photographing people, sport or movement. It depends on what the subject is doing and how you want that movement to appear.
These are starting points, not rules. Here are practical shutter speed settings for beginner photographers:
| Subject / situation | Suggested starting point | Notes |
|---|---|---|
| Cooperative portrait, person reasonably still | 1/60 – 1/125 sec | Fine for minimal movement |
| Person talking, gesturing, moving naturally | ~1/250 sec | Accounts for natural movement |
| Child running | 1/500 sec or faster | Children move unpredictably |
| Sport and energetic action | 1/1000 sec | Start here and go faster if needed |
| Very fast action | 1/2000 sec or beyond | Motorbikes, birds in flight |
| Creative motion blur (panning) | 1/30 – 1/60 sec | Pan with the subject |
| Flowing water (silky effect) | 1/4 – 2+ seconds | Requires tripod |
Direction matters too. Someone walking directly towards you presents a different problem from someone moving quickly across the frame. A runner’s torso may look relatively stable while their hands and feet blur. A bird sitting on a branch and the same bird taking off require completely different decisions.
So rather than asking, “What shutter speed do I use for people?”, I would look at how much movement is actually happening and decide how I want it to appear.
Sometimes freezing the movement is not the goal.
Photograph a cyclist at 1/2000 second and you may freeze the rider, bicycle and wheels so completely that the photograph feels strangely static. Use 1/30 second and pan with the cyclist, and you may keep enough detail in the rider while the background streaks across the frame.
That blur can help describe the speed.
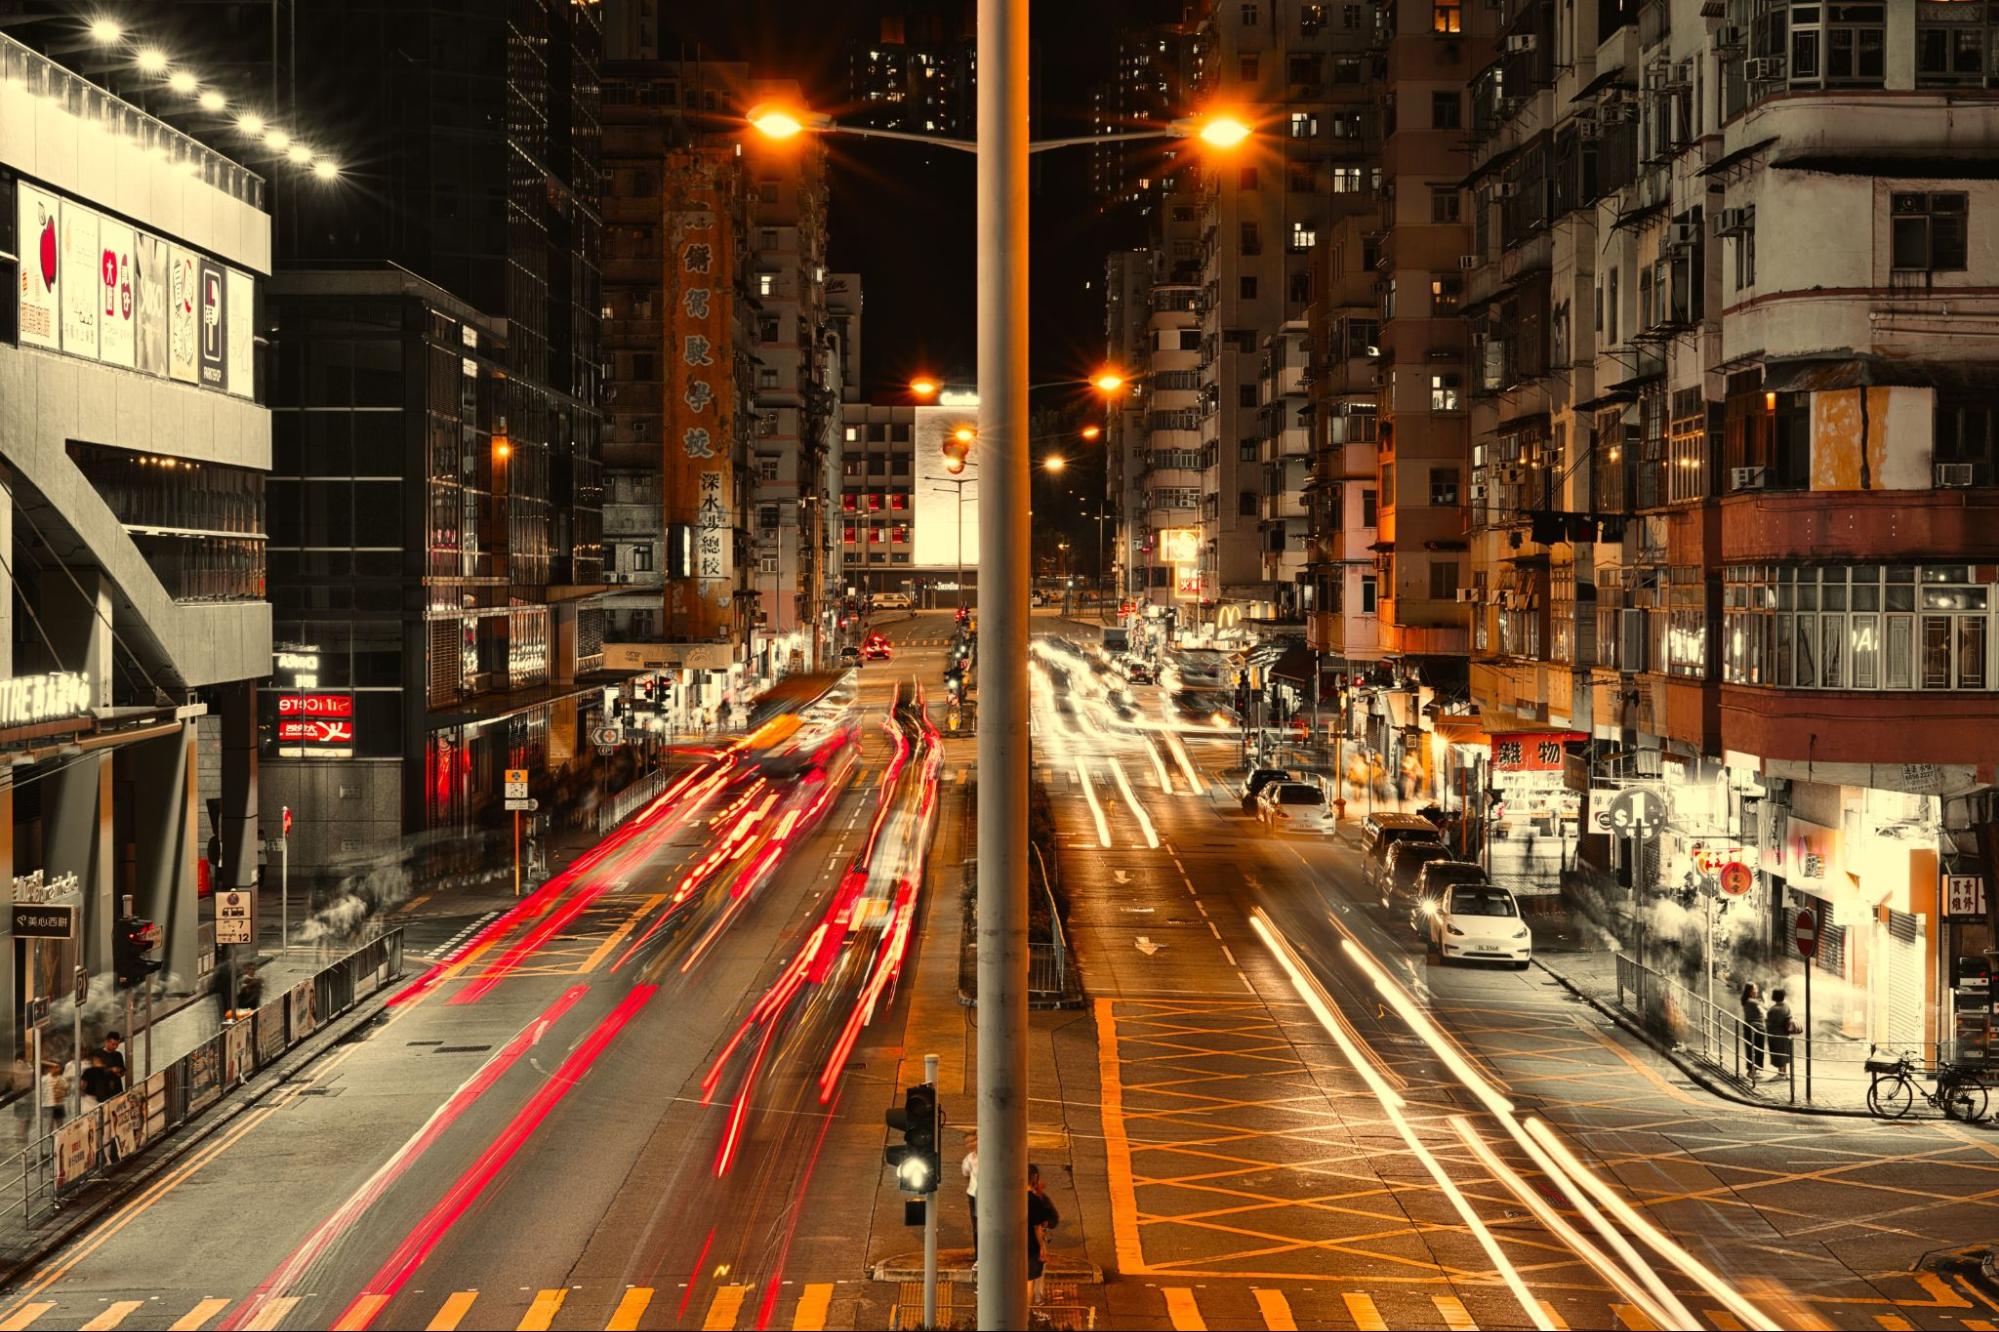
The same thinking applies to water, traffic, dancers or people moving through a city. Blur becomes a problem when it is accidental. When it is part of the photograph, a slower shutter speed can be exactly the right choice.
A simple exercise makes the difference very obvious. Put the camera on a tripod or stable support and photograph something that moves consistently. Water works well. So does passing traffic. Try 1/1000 second, 1/250, 1/60 and 1/15, adjusting aperture or ISO as needed to keep the brightness reasonably similar.
Then compare the photographs.
You are seeing what the shutter speed has done to movement, rather than simply watching it make the exposure brighter or darker.
ISO explained: Giving aperture and shutter speed room to work
ISO is the setting beginners are often most nervous about.
For years, the standard advice was to keep ISO as low as possible. There was a good reason for that. Higher ISO can introduce more visible noise, affect fine detail and reduce image quality.
The problem comes when “keep ISO low” turns into “ISO must stay at 100.”
That can cost you photographs.
If I need ISO 6400, I use ISO 6400. If I need ISO 10,000 to get the shutter speed the photograph requires, I am comfortable using ISO 10,000.
I would rather have the photograph sharp.
Better noisy than blurry.
So what is ISO in photography, precisely? ISO changes the camera’s sensitivity to the captured light, affecting the brightness of the resulting image. Aperture and shutter speed determine how much light is captured. ISO determines how the camera responds to it.
In practical terms, I am interested in what increasing ISO allows me to do.
Imagine photographing someone indoors. You want f/4 because you need that amount of depth of field, and you want 1/250 second because the person is moving.
At ISO 400, the photograph is too dark.
You could slow the shutter speed, but that may introduce movement blur. You could open the aperture, but perhaps you need the depth of field.
So raise the ISO.
Maybe ISO 800 is enough. Perhaps you need 1600 or 3200.
The ISO is supporting decisions you have already made about depth of field and movement. That is a far more useful way to think about it than protecting ISO 100 regardless of what happens to the photograph.
Higher ISO still has consequences. Noise can increase, fine detail can suffer and colours may be less clean. But modern noise-reduction tools give us much more freedom than we once had, particularly when working with RAW files. Used carefully, current AI-based noise reduction can remove a considerable amount of high-ISO noise while retaining useful detail and texture.
It is not magic. Push it too far and fine detail can become overly smooth or artificial.
But a noisy photograph can often be improved later. Movement blur caused by a shutter speed that was too slow is a much harder problem to solve.
When the choice is between more noise and losing the photograph, I will generally take the ISO.
How aperture, shutter speed and ISO work together in photography
This is where aperture, shutter speed and ISO stop feeling like three separate subjects. The exposure triangle connects them, but understanding how they interact photographically is what makes the triangle useful rather than confusing.
Imagine photographing a child running in open shade. You decide that around 1/500 second is a sensible starting point for the movement, and f/5.6 gives you enough depth of field to allow for the child moving towards and away from you.
At ISO 100, the photograph is too dark.
There is nothing inherently wrong with 1/500 or f/5.6. They are doing the jobs you chose them for. In this light, ISO 100 simply does not give you enough brightness.
So raise it until the exposure works.
Perhaps ISO 800. Perhaps ISO 1600. If the light is poor, perhaps considerably higher.
Now take the same camera to a landscape at sunset and put it on a tripod. The photographic problem is completely different.
Nothing important may be moving, and camera shake is no longer an issue because the camera is supported. You might choose ISO 100 and f/8, then allow the shutter speed to fall wherever the light takes it.
Perhaps 1/4 second.
Perhaps two seconds.
That is fine if the movement recorded during that time suits the photograph.
A portrait beside a window changes the priorities again. You might begin around f/4 and 1/125 second, with ISO 1600 giving you the brightness you need. If the person becomes more animated, 1/250 may be safer. You still want f/4, so the extra stop can come from ISO instead.
The settings themselves have not changed jobs. The photograph tells you which one matters most.
Understanding how to make these decisions is one of the core skills covered in our beginner photography course in Sydney, where we teach aperture, shutter speed and ISO in a practical order that makes each relationship visible.
If you want to understand how Manual Mode brings these three decisions together step by step, our guide to how to shoot in Manual Mode walks through exactly how we approach it.
Photography stops explained: The common language of exposure
There is one piece of technical language that makes the relationship between the three controls much easier to understand.
A stop is a doubling or halving of light.
Change your shutter speed from 1/250 to 1/500 second and you cut the captured light in half. That is one stop.
Move from 1/250 to 1/125 and you double it.
ISO follows the same basic relationship in terms of brightness. ISO 100 to ISO 200 is one stop. ISO 200 to ISO 400 is another.
With aperture, the familiar full-stop sequence runs through values such as f/2.8, f/4, f/5.6, f/8 and f/11. Each full step changes the amount of light by a factor of two.
Most cameras let you work in smaller increments between those values. Three clicks of a dial will commonly equal one full stop, although cameras can be configured differently.
You do not need to spend your life doing exposure maths.
What matters is understanding that if you lose a stop in one place, you can gain it somewhere else. The important decision is where you make that change, because the photograph may change with it.
Understanding your camera settings: Similar exposure does not mean the same photograph
Suppose you make a photograph at:
ISO 100, f/4, 1/250 second.
Now close the aperture to f/8. You have reduced the captured light by two stops, so if nothing else changes, the photograph will be much darker.
You could compensate by slowing the shutter speed two stops:
ISO 100, f/8, 1/60 second.
The overall brightness may now be very similar.
The photograph is not.
At f/8 you have more depth of field, while at 1/60 second you have considerably more risk of movement blur.
Now consider:
ISO 400, f/4, 1/1000 second.
The overall brightness can again be similar to the original exposure. The aperture remains at f/4, so the depth of field remains similar. Raising ISO from 100 to 400 gives you two stops, which allows the shutter speed to move from 1/250 to 1/1000.
Now you have much more ability to freeze movement.
This is why getting the meter to zero is only part of the exposure decision. Several combinations can produce similar brightness while creating very different photographs.
The question is which combination suits what is happening in front of you.
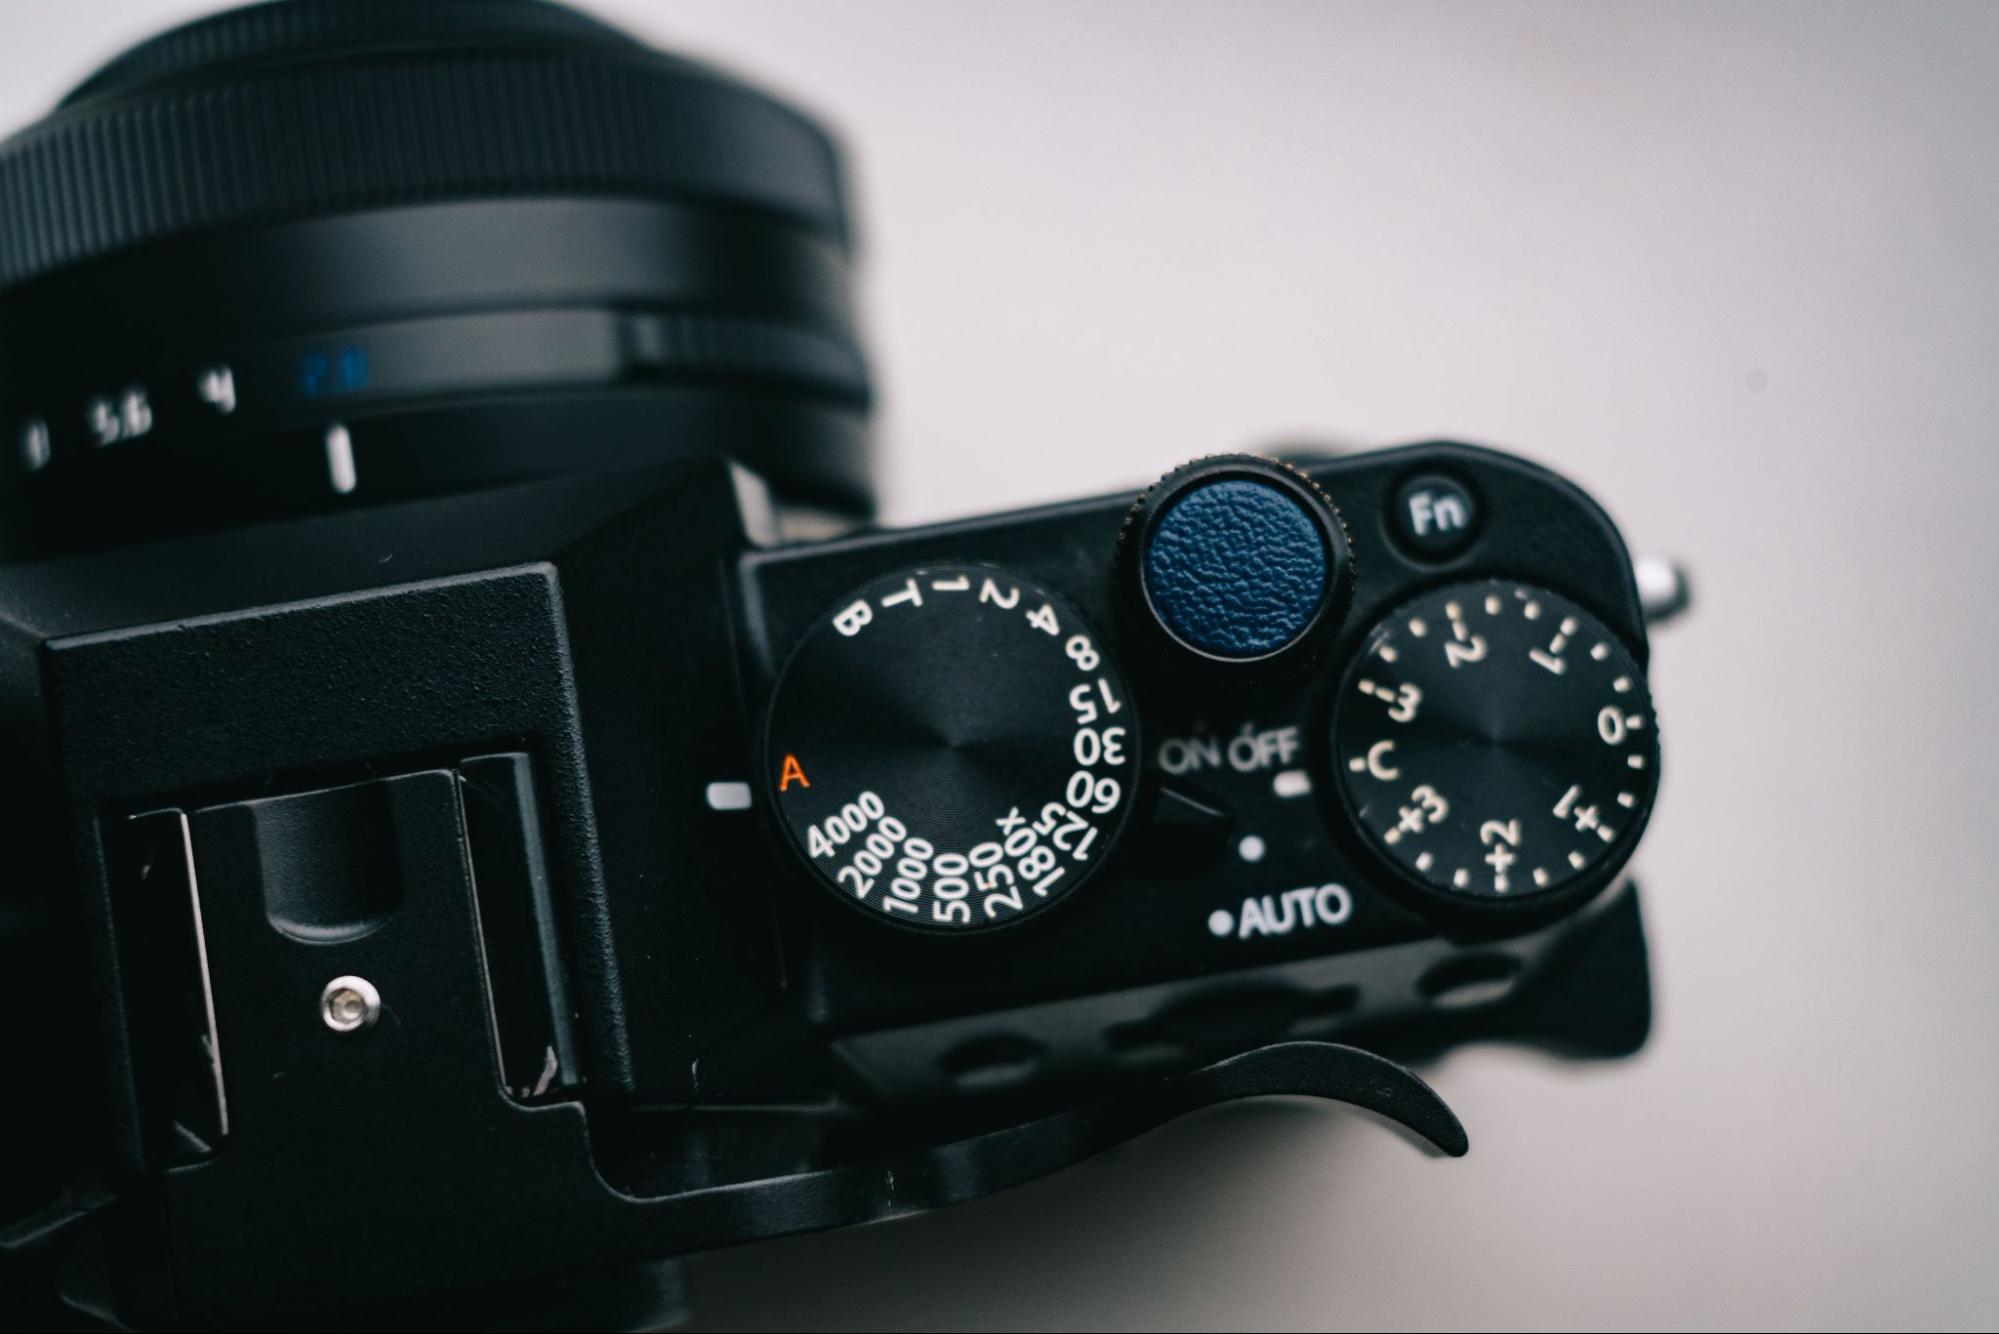
Stop asking for the correct camera settings for beginners
This is where I want students to get to.
Someone asks:
“What ISO should I use?”
I want to know what they are photographing.
How much movement is there? What shutter speed do they need? How much depth of field does the photograph require? What is the available light allowing them to do?
Once those decisions are clearer, ISO becomes much easier to choose.
The same thing happens when someone asks for the best aperture for portraits.
What sort of portrait?
One person or five?
Are they all the same distance from the camera?
How close are you?
How far is the background from the subject?
Do you want the environment clearly visible or pushed into the background?
There is no single portrait aperture because there is no single portrait.
Landscapes are no different. Neither are sport, street photography or events.
The numbers matter, but they make much more sense once the photograph gives them something to do.
Common questions about camera settings
What is aperture in photography?
Aperture is the opening inside the lens that controls how much light reaches the camera sensor. It is measured in f-numbers (f-stops) such as f/2.8, f/4, f/5.6, f/8. A smaller f-number means a wider aperture and a shallower depth of field. A larger f-number means a narrower aperture and deeper depth of field. Aperture affects both the brightness of the image and how much of the scene appears sharp.
What is ISO in photography?
ISO in photography refers to the camera’s sensitivity to light. A lower ISO (e.g. ISO 100) produces a cleaner image but requires more light. A higher ISO (e.g. ISO 3200) allows you to shoot in darker conditions but can introduce digital noise. ISO is best thought of as the setting that gives your aperture and shutter speed choices room to work in the available light.
What is shutter speed in photography?
Shutter speed is the length of time the camera’s shutter stays open, exposing the sensor to light. A fast shutter speed (e.g. 1/1000 sec) freezes movement. A slow shutter speed (e.g. 1/30 sec) allows movement to blur across the frame. Shutter speed is chosen based on how you want movement to appear in the photograph, not just on how much light you need.
What is the exposure triangle in photography?
The exposure triangle describes the relationship between aperture, shutter speed and ISO, the three settings that determine how bright a photograph will be. Changing one setting affects the others if you want to maintain the same overall brightness. Understanding the exposure triangle means understanding not just how each setting affects brightness, but how each one changes the photograph itself: aperture changes depth of field, shutter speed changes how movement appears, and ISO affects image quality and noise.
What aperture should I use for portraits?
There is no single correct aperture for portraits. For one person, a wide aperture such as f/2.8 or f/4 can separate the subject from the background. For a group in two rows, you may need f/8 or more to keep everyone sharp. The right aperture depends on how many people are in the frame, how far the camera is from the subject, how far the subject is from the background, and how much you want the background to appear.
Learn what changes when you change a camera setting
When I teach aperture, shutter speed and ISO in our Sydney photography classes, I am less interested in whether someone can recite a definition than whether they understand the consequence of changing a setting.
If you open the aperture, you let in more light and reduce depth of field, assuming the other factors remain the same. If you make the shutter speed faster, you reduce the captured light while gaining more ability to freeze movement. Raising ISO can then give you the brightness needed to keep those aperture and shutter-speed decisions.
Understanding those relationships gives you somewhere to go when the photograph does not work.
If a person is blurred, look at why. The shutter speed may be too slow, but the focus may also have missed.
If only one person in a group is sharp, think about where you focused and whether you have enough depth of field.
If the aperture and shutter speed are doing exactly what the photograph needs but the image is too dark, ISO gives you another option.
Over time, you stop changing numbers simply because the photograph looks wrong. You start identifying the photographic problem and adjusting the control that deals with it.
This shift from guessing to understanding is precisely what understanding beats memorising describes: once you understand why a setting matters, the decisions become far faster and more confident.
The photograph comes first: Camera settings are your tools
Aperture, shutter speed and ISO are fundamental to photography, but knowing how to change them is only part of the job. What matters is understanding what each setting allows you to do with the photograph.
Aperture gives you control over depth of field, while shutter speed determines how movement is recorded. ISO gives you room to use those decisions when the available light makes them difficult.
When you are learning, it helps to slow the process down. Choose a setting for a reason, take the photograph and look carefully at what happened. If something needs changing, change one thing and look again.
After enough repetition, f/4, 1/250 and ISO 1600 stop feeling like three numbers that need to be balanced. You start seeing the photographic problem instead.
Someone is moving in low light. You need enough shutter speed to keep them sharp, enough depth of field for the photograph, and an ISO that makes those choices possible.
That is the point where camera settings start becoming photography.
Learning exposure at Sydney Photographic Workshops
This is how we teach exposure in the SPW 8-Week Beginner Photography Course. Aperture, shutter speed and ISO are introduced separately so you can clearly see what each one does, then brought back together in practical photography where focus, light, movement and composition are all happening at the same time.
We are based at our Alexandria studio, just a short walk from Redfern station, and we run photography courses in Sydney throughout the year: evening and daytime sessions, boutique class sizes of maximum 12 participants, taught by award-winning working photographers. The aim is to understand the controls well enough to look at a photograph and decide what you need from the camera.
Interested in understanding your camera settings properly?
Join Sydney’s most popular beginner photography course. Aperture, shutter speed and ISO taught in a clear practical order with hands-on exercises and a Sydney Harbour field trip included. Boutique classes of maximum 12 participants.