Manual Mode has a reputation for being hard. Taught in the right order, it can actually reduce confusion and make camera settings easier to understand. This lesson covers:
- Why Auto mode can make exposure harder to learn.
- How Manual Mode shows you the direct relationship between ISO, aperture and shutter speed.
- A simple, repeatable workflow for beginner photographers: ISO first, then aperture, then shutter speed.
- Why you should not chase the exposure meter needle.
- When Manual Mode is the practical choice, and when another mode makes more sense.
- How to practise manual mode photography when the stakes are low.
- Manual exposure is taught early in the 8-Week Beginner Photography Course at Sydney Photographic Workshops.
Manual Mode has a reputation for making photography harder. Taught in a clear order, it can reduce confusion, give your camera settings a purpose and help you understand why each photograph looks the way it does.
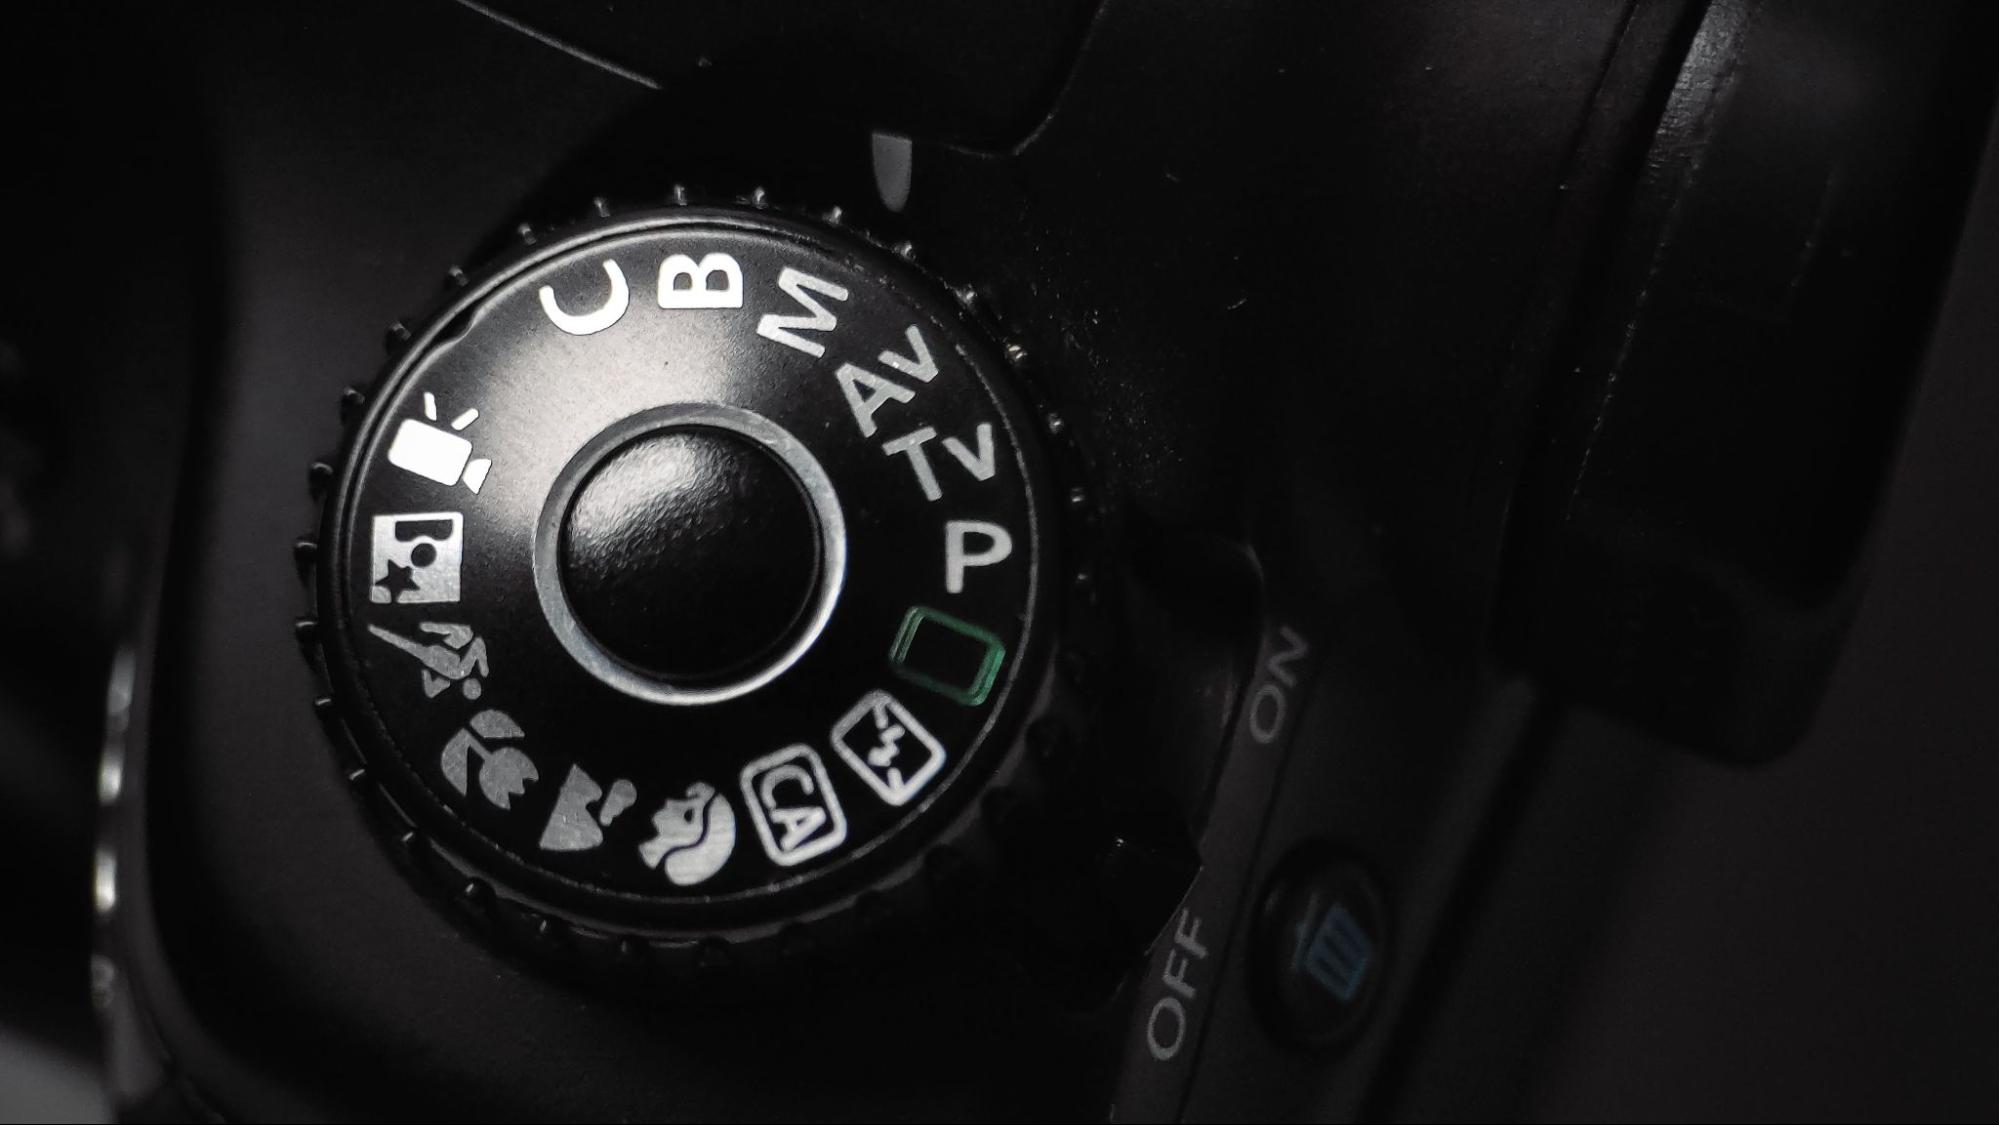
For many beginners taking their first photography course for beginners in Sydney, the M on the camera dial feels like something you are supposed to work up to. Start in Auto, move through Aperture Priority, learn a few settings and eventually, when you know what you are doing, graduate to Manual.
I introduce it much earlier.
Not because every photograph should be taken in Manual Mode, and certainly not because using Manual makes you a better photographer.
Manual Mode is useful because it lets you see what is happening.
You choose the ISO.
You choose the aperture.
You choose the shutter speed.
Then you take the photograph and see what those decisions produced.
Too dark?
Good. Now there is something specific to investigate.
Subject blurred?
Was the shutter speed too slow? Did the focus miss? Did the camera move?
The camera has stopped making part of the exposure decision for you, which makes the relationship between the settings much easier to see. This is exactly why learning manual mode sits at the heart of how we teach photography in Sydney.
Why automatic modes can make exposure harder to understand for beginners
Modern cameras are very good at producing acceptable exposures.
In Auto mode, you can point the camera at a scene, press the shutter and receive a photograph that looks reasonably bright. The camera may have selected the aperture, shutter speed and ISO without you giving any of them much thought.
That is convenient when taking the photograph is more important than understanding how it was made.
It becomes less useful when you are trying to learn. Understanding a better way to learn photography starts with seeing the direct cause and effect of every setting you choose.
Imagine photographing someone indoors.
The first frame looks fine.
They move closer to a window and the camera changes the exposure.
You recompose and include more of a dark wall behind them. The camera changes the exposure again.
You move slightly and now there is a bright window in the background. Another change.
The light on your subject may not have changed very much at all. The camera is responding to what it sees inside the frame.
If you do not know which settings it changed, the results can feel unpredictable.
Manual Mode gives you something stable to work from.
If the light on the subject is consistent, you can set the exposure and leave it there. Recompose. Move the subject around. Include more or less background.
The camera does not suddenly decide that the scene needs a different shutter speed because something bright entered the frame.
In those situations, Manual Mode can actually make photography simpler.
A beginner’s guide: Manual Mode does not mean adjusting three things all the time
One of the reasons Manual Mode feels difficult is that beginners assume they need to keep changing aperture, shutter speed and ISO together.
They take a photograph.
It is too dark.
They change the aperture.
Then the shutter speed.
Then the ISO.
The next frame is brighter, but they have no idea which change did what.
I try to get students away from that as quickly as possible.
Set the first two. Adjust one.
If you have chosen an ISO appropriate for the light and an aperture appropriate for the depth of field you want, use the shutter speed to bring the exposure where you need it.
Take the photograph.
Look at it.
If the brightness is right and the shutter speed is fast enough for the subject, you are done.
You do not need to keep touching everything simply because the camera is in Manual Mode.
In stable light, you may take many photographs without changing the exposure at all.
ISO, aperture and shutter speed explained: Start with the light, then make the creative decision
Before touching the dials, look at the conditions.
Are you outside in bright sunlight?
Inside near a window?
Photographing at dusk?
Walking from full sun into deep shade?
The amount of available light gives you a sensible starting point for ISO.
In strong daylight, ISO 100 may be perfectly practical. Move indoors and ISO 800, 1600 or 3200 may make more sense. Later in the evening, you may need to go higher again.
The number itself is not the important part.
You are giving yourself enough sensitivity to use the aperture and shutter speed the photograph requires.
This is something I spend a lot of time on in our photography classes in Sydney because beginners are often frightened of ISO. They have been told to keep it low, so they protect ISO 100 at all costs.
Then the shutter speed drops.
Their subject moves.
The photograph is blurry.
I would much rather increase the ISO and keep the photograph sharp.
Better noisy than blurry.
Once the ISO is sensible for the conditions, think about depth of field.
How much of the photograph needs to appear sharp?
One person against a distracting background may work well with a wider aperture. Aperture and depth of field are directly linked: a wider aperture (lower f-number) gives a shallower depth of field, separating subject from background.
A group arranged in several rows may need considerably more depth.
A landscape with important detail from foreground to distance may need something different again.
If you are photographing a portrait and decide that f/4 gives you the depth you want, set f/4.
Leave it there.
You have now made two decisions.
- ISO for the available light.
- Aperture for the depth of field.
Now use shutter speed to meter.
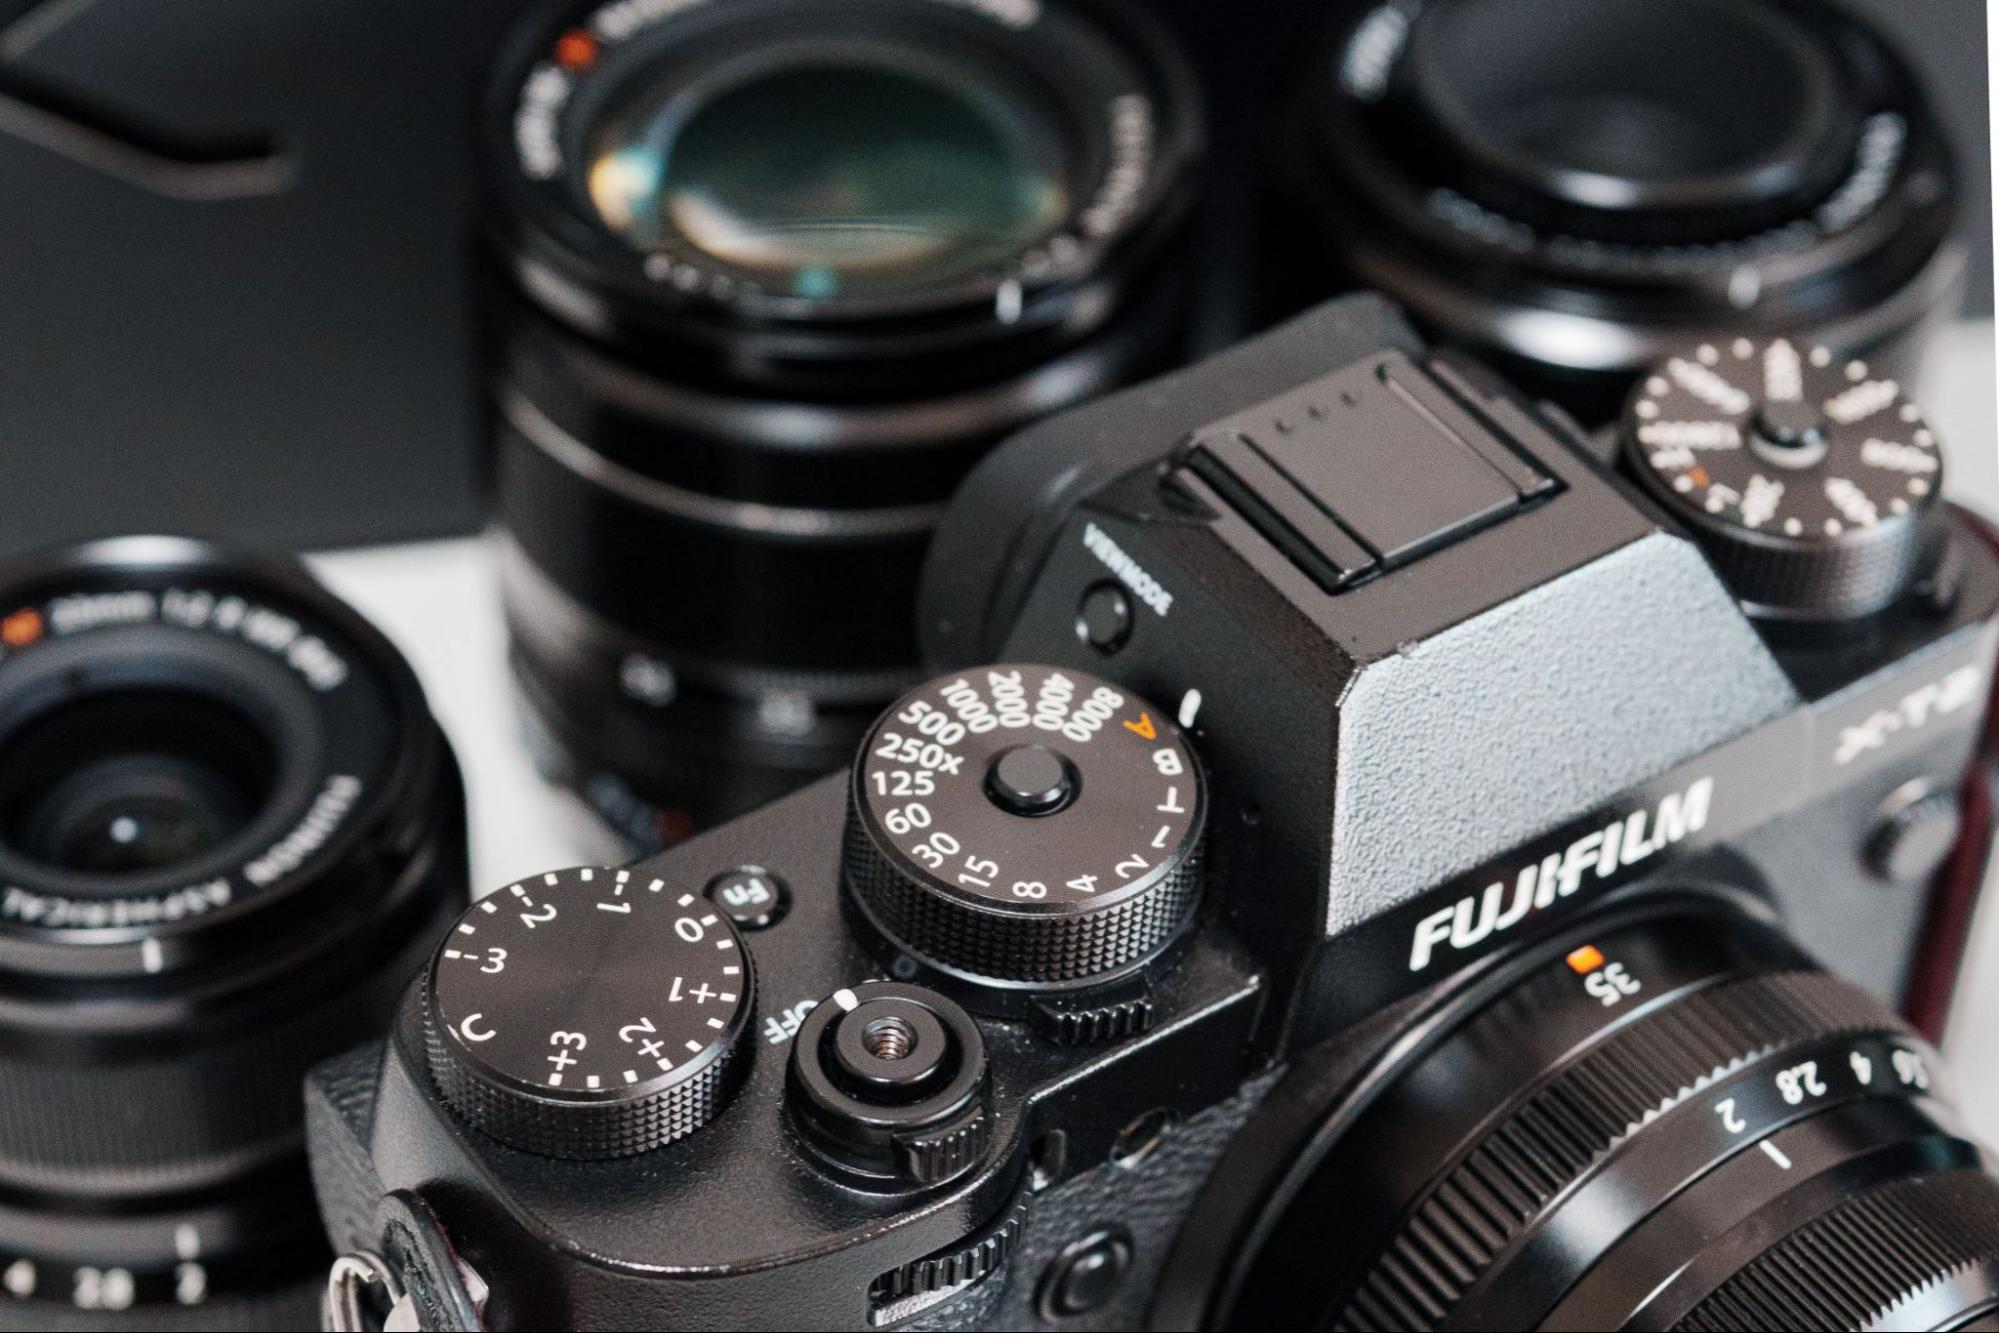
On many cameras, that means adjusting the shutter speed until the exposure meter sits around zero.
Take the photograph.
Then look at the photograph.
The meter gives you a reference. It does not know how you want the image to look.
So I get students to begin simply:
Centre the needle. Take the shot. Then decide.
Is it too bright?
Too dark?
Exactly where you want it?
Now make a deliberate adjustment.
The meter has given you a starting point. The photograph tells you what to do next.
Don’t chase the needle: How to read the camera exposure meter
This is a habit that can make Manual Mode much harder than it needs to be.
You take a photograph with the meter centred.
Then you move the camera slightly.
The meter shifts.
You change the shutter speed.
You recompose again.
The meter moves again.
Another adjustment.
Soon you are spending more time following the indicator than looking at the photograph.
Don’t chase the needle.
If the light on your subject has not changed, your exposure may not need to change either.
The camera’s exposure meter is responding to whatever happens to be inside the frame. A dark background, a bright wall, a window or a patch of sky can all affect its reading.
Once you have taken a test photograph and established that the exposure is where you want it, that photograph is often more useful than whatever the meter says after you recompose.
Keep photographing.
Change the exposure when the light changes or when you decide the photograph needs to look different.
The meter is a starting point, not a command
Beginners can become very attached to the centre of the exposure meter.
They see zero and assume the camera is telling them the exposure is correct.
It is not.
The camera is telling you that the exposure matches its interpretation of the light it has measured.
Photograph a person wearing dark clothing against a dark wall and the meter may try to make the scene brighter.
Photograph someone surrounded by a large white wall and it may try to make the scene darker.
The meter is useful.
It is just not making the creative decision for you.
Use it to get close.
Then look at the photograph.
That also means you do not need to centre the meter before every frame. If the light has not changed and the test photograph is where you want it, carry on.
When the shutter speed tells you something is wrong in your manual exposure
Imagine you are indoors.
You have chosen ISO 800.
You want f/5.6 because you are photographing two people and need enough depth of field for both.
You adjust the shutter speed until the exposure looks right and discover that you are at 1/30 second.
The exposure may be fine.
The shutter speed may not be.
If the people are moving, talking or gesturing, 1/30 is likely to create movement blur.
So what do you do?
You could open the aperture, but perhaps you need the depth of field.
You could ask everyone to remain absolutely still, which is rarely how I want to photograph people.
Or you could raise the ISO.
Move from ISO 800 to ISO 1600 and you gain a stop. The shutter speed can move from roughly 1/30 to 1/60 while maintaining similar brightness.
Go to ISO 3200 and you can move to around 1/125.
Now the photograph has a much better chance of being sharp.
The important part is why the ISO changed.
You did not raise it because high ISO is somehow better.
You raised it because the shutter speed told you that the current combination was not practical.
That is the relationship I want students to understand. It is also the relationship that becomes second nature through the practical exercises in our beginner photography course in Sydney.
A simple Manual Mode workflow for beginner photographers in Sydney
When students are first learning, I want the process to feel predictable. This workflow applies whether you are in a DSLR photography course in Sydney or practising at home on your own.
Manual Mode workflow
- Look at the light and choose an ISO.
- Choose an aperture for the depth of field you want.
- Use shutter speed to meter. Adjust until the needle sits near zero.
- Take a test photograph.
- Check the brightness. Is it where you want it?
- Then check the shutter speed. Is it fast enough for the subject?
- If the image is too bright or too dark, make the appropriate exposure adjustment.
- If the brightness is good but the shutter speed is too slow for the subject, raise the ISO and reset the shutter speed.
- Then photograph. Repeat only when the light changes.
You do not need to restart the entire process for every frame.
If nothing important has changed, keep going.
The benefit of having an order is that when something goes wrong, you know where to look.
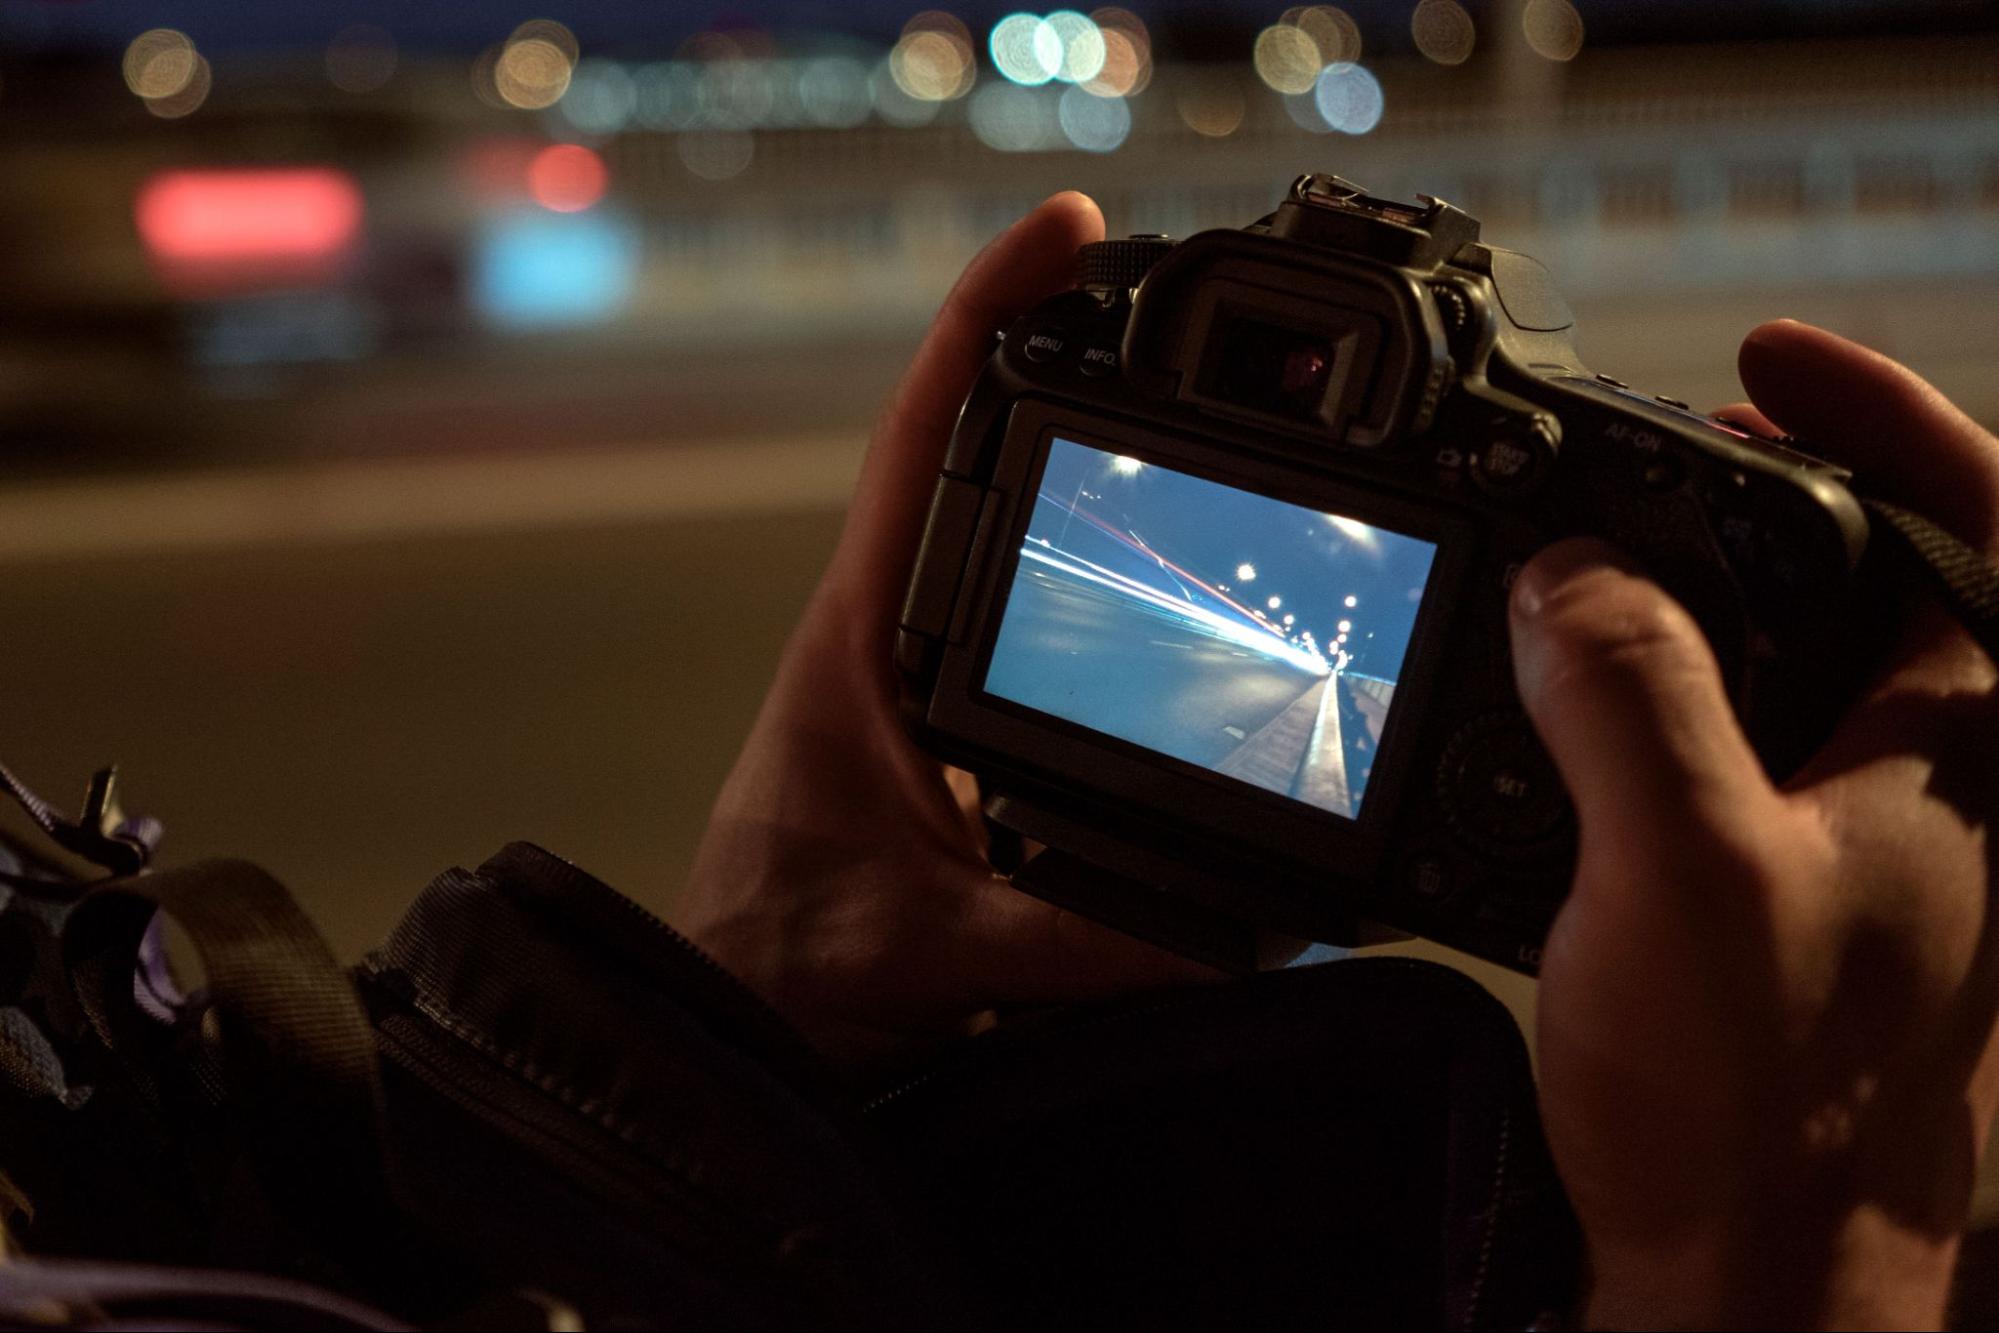
Auto ISO is useful once you understand what it is doing
Auto ISO can be extremely practical.
I use it in situations where I want to control the aperture and shutter speed while allowing the camera to respond to changing light.
Imagine photographing people moving between sun and shade. You know the aperture you want. You know the shutter speed required for the movement. Auto ISO can handle the changes in brightness while you concentrate on timing and composition.
That is a completely deliberate way to work.
For someone learning exposure for the first time, though, Auto ISO can hide part of the relationship.
You change the shutter speed and expect the photograph to become darker.
It doesn’t.
The camera quietly raises the ISO.
You change the aperture.
Again, the brightness barely changes because the ISO moves in the opposite direction.
The camera is doing exactly what it has been told to do, but while you are trying to understand cause and effect, another setting is moving without you touching it.
I prefer students to understand the relationship first — how ISO, aperture and shutter speed work together.
Then Auto ISO becomes a useful choice.
Manual Mode works particularly well when the light is stable
Imagine photographing a person outdoors in open shade.
The light on their face is consistent.
Behind them is a mixture of trees, pale concrete, dark doorways and bright sky.
In Aperture Priority, the camera may alter the shutter speed as the background changes because the meter sees a different balance of light and dark tones.
In Manual Mode, once you have established the exposure for the person, you can leave it there.
Turn one way.
Turn the other.
Include a darker background.
Include a brighter one.
If the light falling on the subject has not changed, the exposure does not need to change simply because you recomposed.
Studio photography is another obvious example. Once the lights and camera settings are established, you may shoot for quite some time without changing exposure. This makes Manual Mode useful for formal portrait sessions, corporate photography and any controlled indoor photography environment.
But the opposite is also true.
Walk down a city street on a day with broken cloud and the light may change constantly. One moment you are in direct sunlight. Ten seconds later you are under an awning. Then you step into the shadow of a building.
You can keep working in Manual Mode and adjust as the light changes.
Or Aperture Priority may let you concentrate more on the photograph while the camera deals with those rapid exposure changes.
If movement is the critical decision, Shutter Priority may make more sense.
There are no bonus points for making the process harder than it needs to be.
Manual Mode teaches you what the exposure controls are doing. That same understanding helps you decide when another mode is the more practical choice.
Practise manual mode photography when the stakes are low
There is a terrible time to learn Manual Mode.
At your child’s birthday party.
On the first day of an overseas holiday.
While photographing something that is happening once and will never happen again.
The subject is moving, people are waiting for you and suddenly you are staring at the meter trying to remember which dial changes shutter speed.
Practise when none of that matters.
Put the camera on the kitchen table.
Photograph someone sitting near a window.
Go outside and photograph cars passing the end of the street.
Take the camera into the backyard as the light changes in the afternoon.
Set the ISO.
Choose the aperture.
Use the shutter speed to meter.
Take the photograph.
Then change something deliberately and see what happens.
Make the photograph too dark on purpose.
Make it too bright.
Use a shutter speed you know is too slow and look at the result.
Raise the ISO and fix it.
Mistakes are much more useful when you have time to look at them.
Practise manual mode photography when the stakes are low.
Then, when something worth photographing happens, the controls are familiar.
If you want guided low-stakes practice in a structured setting, the Photography Essentials workshop is a great starting point, a practical half-day around Sydney Harbour designed for beginners who want to build confidence with their camera before committing to a full course.
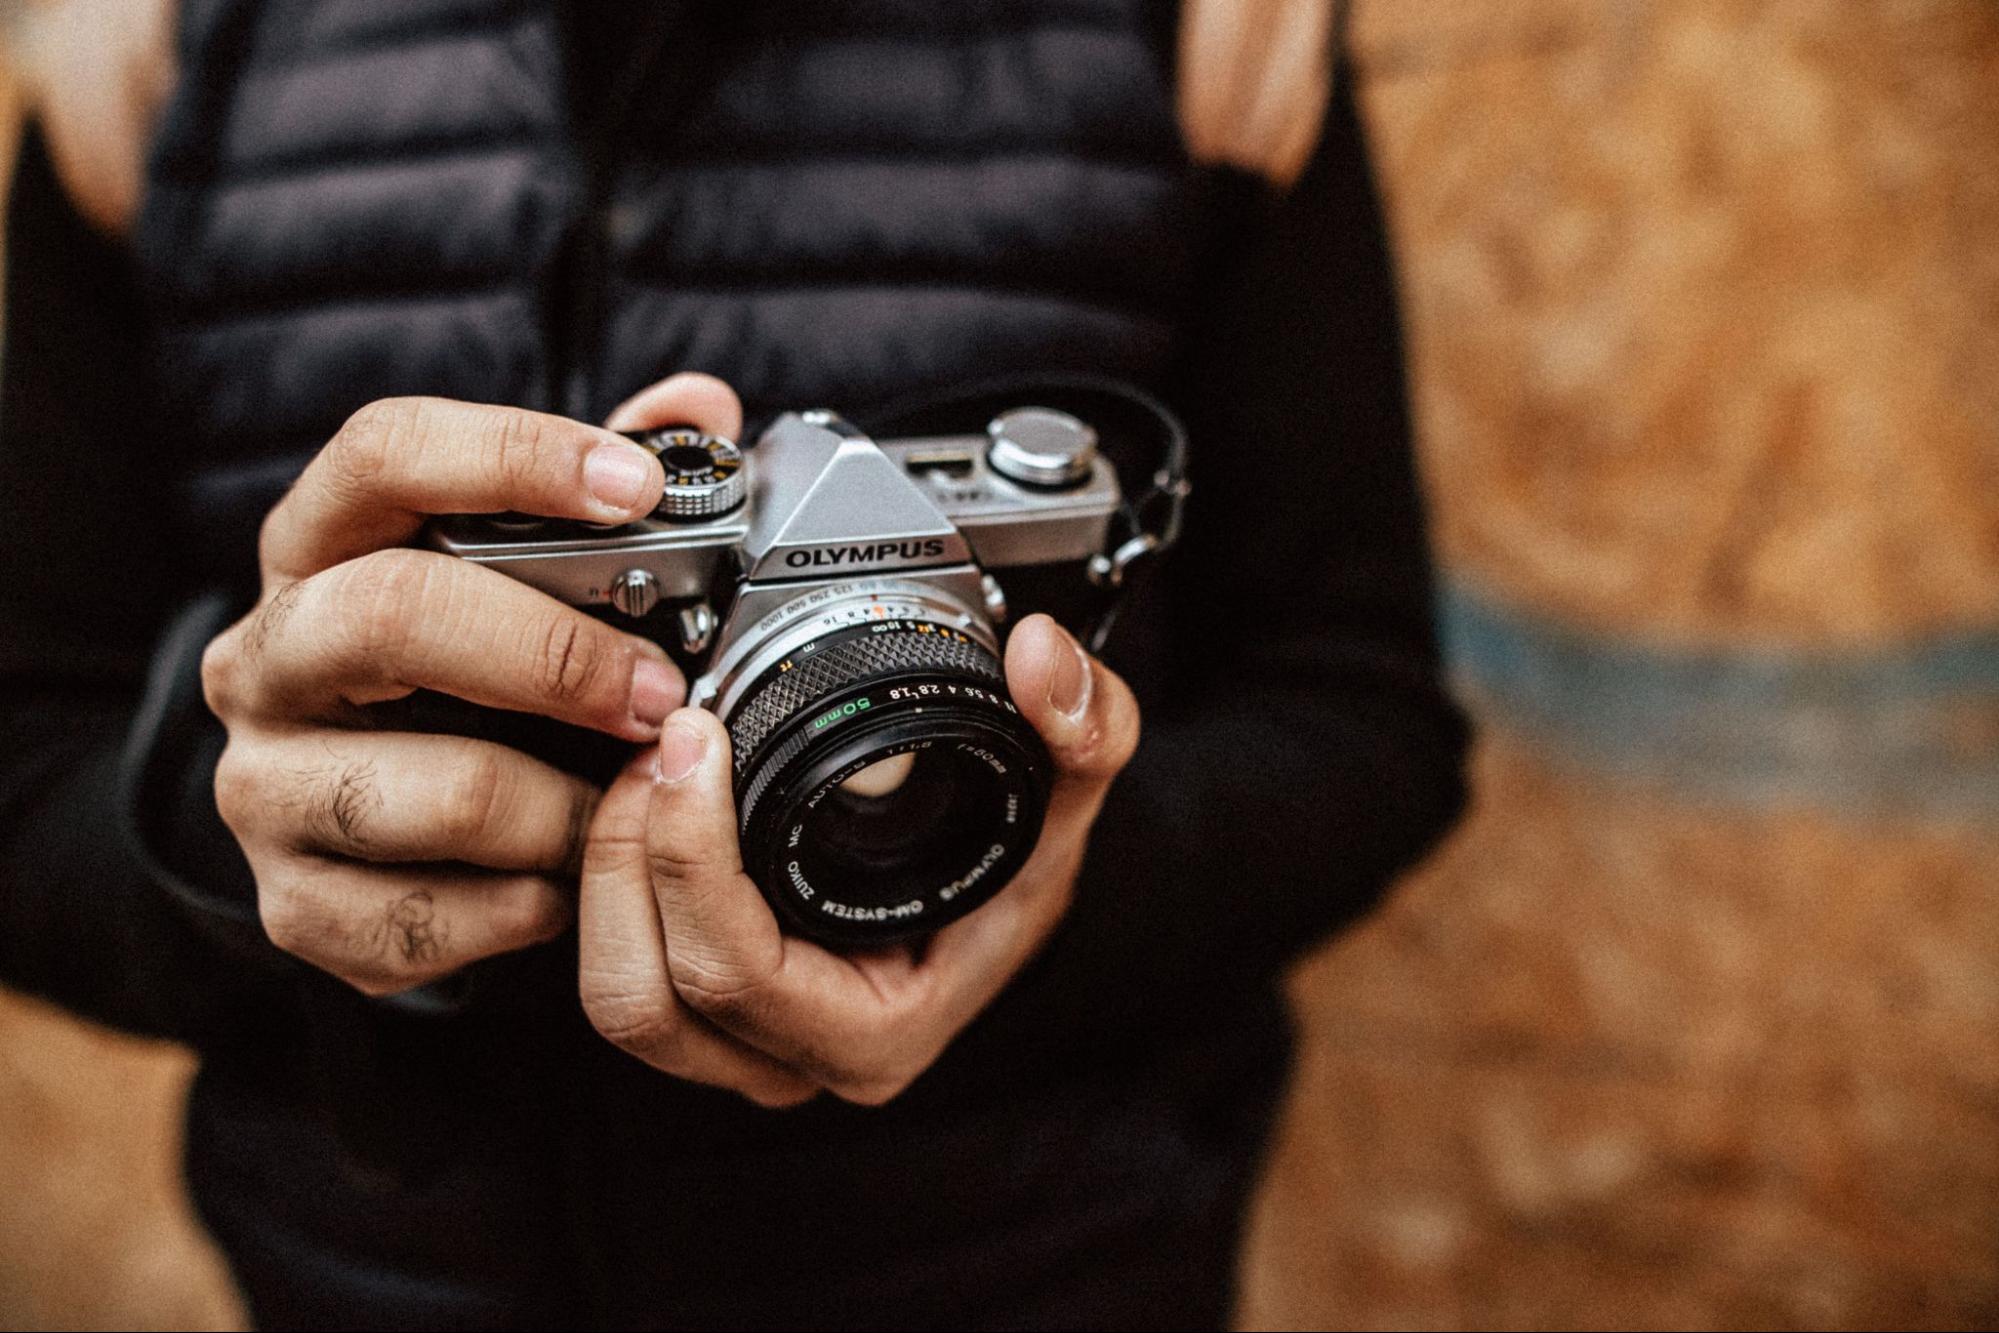
What confidence starts to look like after learning manual mode
At first, students in our photography classes in Sydney often look at the camera when something goes wrong.
“What has the camera done?”
Later, the questions become more specific.
- “My shutter speed is too slow.”
- “I don’t have enough depth of field.”
- “I need more ISO.”
- “The light has changed.”
That shift matters.
You are no longer trying to remember a collection of settings. You can look at the photograph, identify the problem and know which control is relevant.
Eventually, the mode itself matters less.
A great photograph made in Aperture Priority is still a great photograph.
A missed moment in Manual Mode does not become more valuable because you chose every setting yourself.
What matters is understanding what the camera is doing and being able to take over when you need to.
Manual Mode gives you a direct way to learn that relationship because the decisions are visible. You choose the settings, see what happens and make a correction. This connects directly to what a better way to learn photography looks like in practice.
As that process becomes familiar, the camera feels less unpredictable.
And when you decide to let the camera handle one of those decisions for you, you understand what you are handing over.
Learning Manual Mode at Sydney Photographic Workshops
Manual exposure is introduced early in the SPW 8-Week Beginner Photography Course because it gives us a practical way to connect ISO, aperture, shutter speed, movement, depth of field and light.
We build those relationships gradually in our Sydney photography course, practise them when there is time to make mistakes, then keep bringing them back as the photography becomes more complex.
The aim is to reach the point where you can look at the light, decide what the photograph needs and understand which setting to change next.
Wondering how to learn Manual Mode the right way?
Join Sydney’s most popular beginner photography course. Understand Manual Mode, exposure, light and composition taught in clear, practical order. Boutique classes of maximum 12 participants, taught by award-winning professionals.