You can have a solid grasp of composition in photography and still feel uncertain the moment you stand in front of a scene. This is normal, and it has a specific cause. Here is what this article covers:
- Why composition rules like the rule of thirds are starting points instead of answers.
- Why removing things from the frame is often more powerful than adding them.
- How your position changes photographs more than your zoom or aperture does.
- Why backgrounds deserve as much attention as the subject itself.
- How light describes shape, separates subjects, and changes a scene without you moving a step.
- Why timing is a compositional decision
- How reviewing your own photographs teaches you to see more deliberately.
- Covered in a connected, practical order in the 8-Week Beginner Photography Course at Sydney Photographic Workshops.
When people first start learning photography, most of their attention goes to the camera.
That makes sense. There are buttons to learn, settings to understand, lenses to choose and a whole new language around aperture, shutter speed, ISO, autofocus and exposure.
For a while, it can feel as though becoming a better photographer simply means getting better at operating the equipment.
Then the camera starts becoming more familiar.
You can change the aperture without hunting through menus. You know roughly where your shutter speed needs to be. ISO no longer feels mysterious. You are spending less time thinking about the controls.
And yet some photographs still work much better than others.
That is usually where the next stage of learning begins.
Because once the technical side starts to settle, you have more attention available for everything else that makes a photograph work: the subject, the light, the background, the timing, the position you choose and what you decide to leave out of the frame.
Learning to see is really about becoming more conscious of those decisions.
Most photographs begin before the camera comes up: Photography tips for beginners
One of the habits I try to encourage early is to look before you shoot.
What made you stop?
Was it the light, a person, a shape, a colour, a relationship between two things, or a moment that looked as though it was about to happen?
If you cannot answer that, there is a good chance the photograph itself will feel uncertain.
The camera makes it very easy to react. Something catches your attention, the camera comes up, you press the shutter and only afterwards do you really look at what you photographed.
That can work when a moment happens quickly. But if you have time, the photograph usually improves when you spend a few seconds deciding what interested you before you start worrying about settings.
This is a simple shift, but an important one. You begin making decisions about the scene rather than simply recording it. It is also a better way to learn photography: moving from reacting to choosing, from recording to seeing.
Ask what the photograph is about: The foundation of composition in photography
A scene may contain dozens of things, but the photograph cannot give equal importance to all of them.
If you photograph someone sitting at a café table, the scene might contain the person, the cup, another table, a window, pedestrians, parked cars, signage, chairs, reflections and whatever else happens to be in the background.
Your eye may naturally ignore most of that because you are interested in the person.
The camera records all of it.
That is why a photograph can feel more cluttered than the scene did when you were standing there.
Your brain was filtering.
The camera was not.
So one of the most useful questions you can ask is: What is this photograph about?
If the answer is the person, the next decisions become much clearer.
- Where should they sit in the frame?
- What is competing with them?
- Is there something bright behind their head?
- Is another person merging awkwardly into their shoulder?
- Does the background help describe where they are, or is it simply getting in the way?
Once you know what matters, it becomes much easier to decide what does not.
Composition often improves when you remove things: Photography composition techniques
Beginners often approach composition in photography by looking for things to add.
A foreground.
A leading line.
A frame within a frame.
A rule of thirds position.
All of those ideas can be useful, but I often find the more important question is what can be removed.
Look around the frame and ask whether anything is pulling attention away from the subject.
It might be half a person entering from one side, a bright sign, a rubbish bin, a pole behind someone’s head or a patch of sky that keeps drawing your eye.
You may not need a different lens.
You may need one step to the side.
Sometimes the strongest improvement comes from waiting until somebody walks out of the frame, lowering the camera slightly, moving until two elements separate, or simply choosing a cleaner background.
This is one reason composition is difficult to learn from rules alone.
A rule can suggest where to place something.
It cannot tell you what is distracting in this particular scene.
That comes from looking.
Your position changes more than the framing
One of the simplest ways to make photographs more deliberate is to move more.
Beginners often find a subject, stop where they are and then rely almost entirely on the zoom.
The zoom changes framing.
Your position changes relationships.
If you move closer to a subject, the relationship between the subject and the background changes.
If you lower the camera, the background changes.
If you move sideways, objects that were overlapping may separate.
If you move around a person, the light can change completely.
This is particularly obvious in portraiture.
Imagine someone standing outdoors with a messy street behind them.
You could open the aperture and try to blur the background.
That may help.
But perhaps three steps to your right puts the person against a clean wall.
That is often a better solution because you have improved the scene itself rather than asking the lens to hide it.
The same principle applies everywhere.
Before changing the lens, ask whether you can change your position.
Before changing the aperture to deal with the background, ask whether you can improve the background.
The camera gives you options, but moving yourself is often just as important.
The kind of hands-on, location-based learning is exactly what the Photography Essentials workshop is built around: practising position, light and composition in the field around Sydney Harbour.

Backgrounds deserve as much attention as the subject in photography
When people start photographing, most of their attention is understandably on the subject.
That is why backgrounds cause so many problems.
You see the person.
The camera sees the person and everything behind them.
A good background does not have to be empty or heavily blurred. It simply needs to support the subject rather than compete with it.
Sometimes that means simplicity.
Sometimes the environment is important and you want to keep it.
An environmental portrait may need enough context to tell us where the person is and what they do.
A street photograph may rely on several layers of activity.
A landscape may need foreground, middle distance and background to build depth.
The question is not whether the background should be clean.
The question is whether it is intentional.
A complicated photograph can still feel controlled.
A simple photograph can still be weakened by one badly placed distraction.
Light is doing more than setting the exposure: Natural light photography
Beginners often initially treat light as an exposure problem.
- Is there enough light?
- What ISO do I need?
- What shutter speed can I use?
Those questions matter, but light is doing much more than determining brightness.
It is describing shape.
It is separating subjects from backgrounds.
It is revealing texture.
It is hiding detail.
It can make the same location feel completely different within a few minutes.
If you are photographing a person beside a window, moving them half a metre may change the balance between highlight and shadow across their face.
Turn them slightly and the light changes again.
Move outside into open shade and the quality becomes softer.
Stand them beneath direct overhead sun and the shadows become harder.
The location may barely have changed, but the photograph has.
This is why I encourage students to look at what the light is doing before worrying about whether there is enough of it.
Where is it coming from?
What is it hitting?
What is falling into shadow?
Is the brightest part of the frame where you want the viewer to look?
If not, changing the exposure may not solve the real problem. Understanding how aperture, shutter speed and ISO work together helps enormously here, because once those decisions are automatic, you can give your full attention to the light itself.
Timing is part of composition in photography
Some photographs depend almost entirely on when you press the shutter.
This is obvious in sport or action photography, but it is equally important with people, street photography and quieter scenes.
Imagine someone walking past a brightly coloured wall.
You could make ten photographs as they cross the frame.
One may work much better because their legs separate cleanly, their face turns towards the light and the background behind their head becomes uncluttered for a fraction of a second.
The camera settings may be identical in every frame.
The difference is timing.
This is something students often begin noticing once they stop concentrating so heavily on the controls.
You begin anticipating rather than reacting.
You see someone approaching a patch of light and wait.
You notice two people moving towards each other and hold the composition until their positions make sense.
You see a gesture beginning and photograph when it becomes clear.
Sometimes the best thing you can do after composing the frame is simply wait.
Timing is one of the most practised skills in our Street Photography Workshop, where anticipating the decisive moment is the central challenge of every session.
Use compositional ideas when the photograph needs them
There is a natural tendency when learning anything technical to assume improvement comes from doing more.
More settings.
More equipment.
More techniques.
More complicated compositions.
Photography often rewards restraint.
Once you have found a strong subject, useful light and a good position, adding more can weaken the photograph.
This is especially true when people first start exploring composition.
You learn about foreground interest and begin putting something in the foreground of every image.
You learn about leading lines and start searching for them everywhere.
You discover shallow depth of field and everything gets photographed at the widest aperture.
These ideas are tools.
They are useful when the photograph needs them.
The aim is not to prove that you know a compositional technique.
The aim is to make the photograph clearer.
Composition rules are starting points, including the rule of thirds
The rule of thirds is probably the first photography composition rule most photographers encounter.
It is useful.
It gets beginners away from automatically putting everything in the middle and encourages them to think about where the subject sits inside the frame.
But it is a starting point.
There is nothing wrong with placing a subject in the centre when the photograph needs symmetry, directness or balance.
There is nothing automatically strong about placing somebody on a third if the rest of the frame does not work.
The same applies to leading lines, symmetry, frames, triangles, patterns and negative space.
These ideas can help you organise what you see, but they should not become a checklist.
When students become too focused on applying rules, they sometimes stop responding to the scene itself.
I would rather you make a centred photograph for a clear reason than place the subject on a third simply because somebody told you that was better composition in photography.
Intent matters more than following a rule.
Look around the whole frame: A photography composition guide
One of the quickest ways to improve composition is to spend more time looking at what happens around the edges.
The centre is usually where your subject is, so that is where your attention naturally goes.
The problems tend to appear elsewhere.
A foot clipped awkwardly.
A hand cut through a joint.
A bright object just entering the corner.
Half a face.
A vertical line almost touching the subject.
These things are rarely what attracted you to the scene, which is why they are easy to miss.
When you have time, scan the whole frame before pressing the shutter.
Check the top, bottom, left and right, then return your attention to the subject.
It only takes a moment.
Over time, it becomes part of how you see.
Focal length changes visual relationships in photography
When beginners first use a zoom lens, focal length often feels like a convenience control.
Subject too small?
Zoom in.
Subject too big?
Zoom out.
But focal length becomes much more useful when it is combined with your position.
A wider focal length used close to a subject can exaggerate the relationship between foreground and background.
A longer focal length used from further away can make those relationships feel more compressed.
This is why I like getting students to work deliberately at different focal lengths rather than constantly zooming until the subject fills the frame.
Try photographing the same subject at 28mm, 50mm and 70mm, changing your position each time so the subject remains roughly the same size.
The framing may look broadly similar.
The photograph will not.
You begin seeing how much of the environment is included, how the background changes and how the relationship between objects shifts.
Eventually focal length becomes a visual decision rather than simply a way of making something bigger in the frame.
Start noticing what you repeatedly photograph
Learning to see also means learning something about your own photography.
When students show me a group of photographs, patterns often appear before they are aware of them.
Someone repeatedly notices strong colour.
Someone else photographs small human gestures.
Another person is drawn to architecture, reflections, shadows, geometry or isolated figures in large spaces.
Those repetitions are useful.
They can be the beginning of a personal photographic direction.
You do not need to force a style.
Photograph what genuinely catches your attention, then look back over the work.
What keeps appearing?
What kind of light do you respond to?
Are your photographs quiet or energetic?
Do you tend to move close or stay back?
Are people important?
Is colour important?
Do you simplify scenes, or do you prefer layered photographs with several things happening?
The answers tell you something about what you naturally notice.
That is usually more useful than trying to manufacture a style because you think you should have one.
Review is part of learning to see: Improving your photography in Sydney
Taking the photograph is only part of the learning process.
The other part happens afterwards.
Look at your images and ask why one works better than another.
Not simply which one you like.
What changed?
Did you move?
Did the light improve?
Did the subject turn?
Did the background become simpler?
Did you wait for a better moment?
Was one focal length more effective?
Did you get closer?
Sometimes the difference between two frames is tiny, and that can be extremely useful.
If everything is different, it can be difficult to know why one photograph succeeded.
If only your position changed, you can learn something very specific.
This is why exercises where you deliberately change one thing at a time are so useful.
You begin connecting decisions to results.
The aim is to spend less attention on the camera
When students first arrive at a photography course, a lot of their thinking is understandably about the equipment.
- What mode am I in?
- What ISO?
- What aperture?
- Where is that button?
- Why is the meter moving?
- What does this symbol mean?
As those things become familiar, they should gradually take up less of your attention.
You still care about exposure.
You still need focus.
You still need enough shutter speed.
But those decisions stop interrupting every other part of the photograph.
You have more attention available for the things that require your judgement.
You can look at the light, the background, your position and the moment.
You can wait.
You can move.
You can decide what belongs in the frame.
That is an important stage in understanding the decisions behind each setting and in learning photography more broadly.
The camera starts becoming the means of making the photograph rather than the main thing you are thinking about.
There is no camera setting for judgement
Modern cameras are extraordinary.
They can recognise eyes, identify subjects, track movement, stabilise lenses, calculate exposure and produce technically excellent files in situations that would once have been extremely difficult.
All of that is useful.
But the important photographic questions still belong to you.
Why are you making this photograph?
What do you want us to notice?
Where should you stand?
What should be left out?
What is the light doing?
When should you press the shutter?
Those questions do not appear in the camera manual.
They come from practice, observation and experience.
The good news is that seeing can be practised in exactly the same way as exposure or focus.
Look before you shoot.
Move around.
Pay attention to what changes.
Compare similar frames.
Work out why one photograph is stronger than another.
Then do it again.
After a while, you begin noticing photographs before you have even reached for the camera.
That is where photography starts becoming much more interesting.
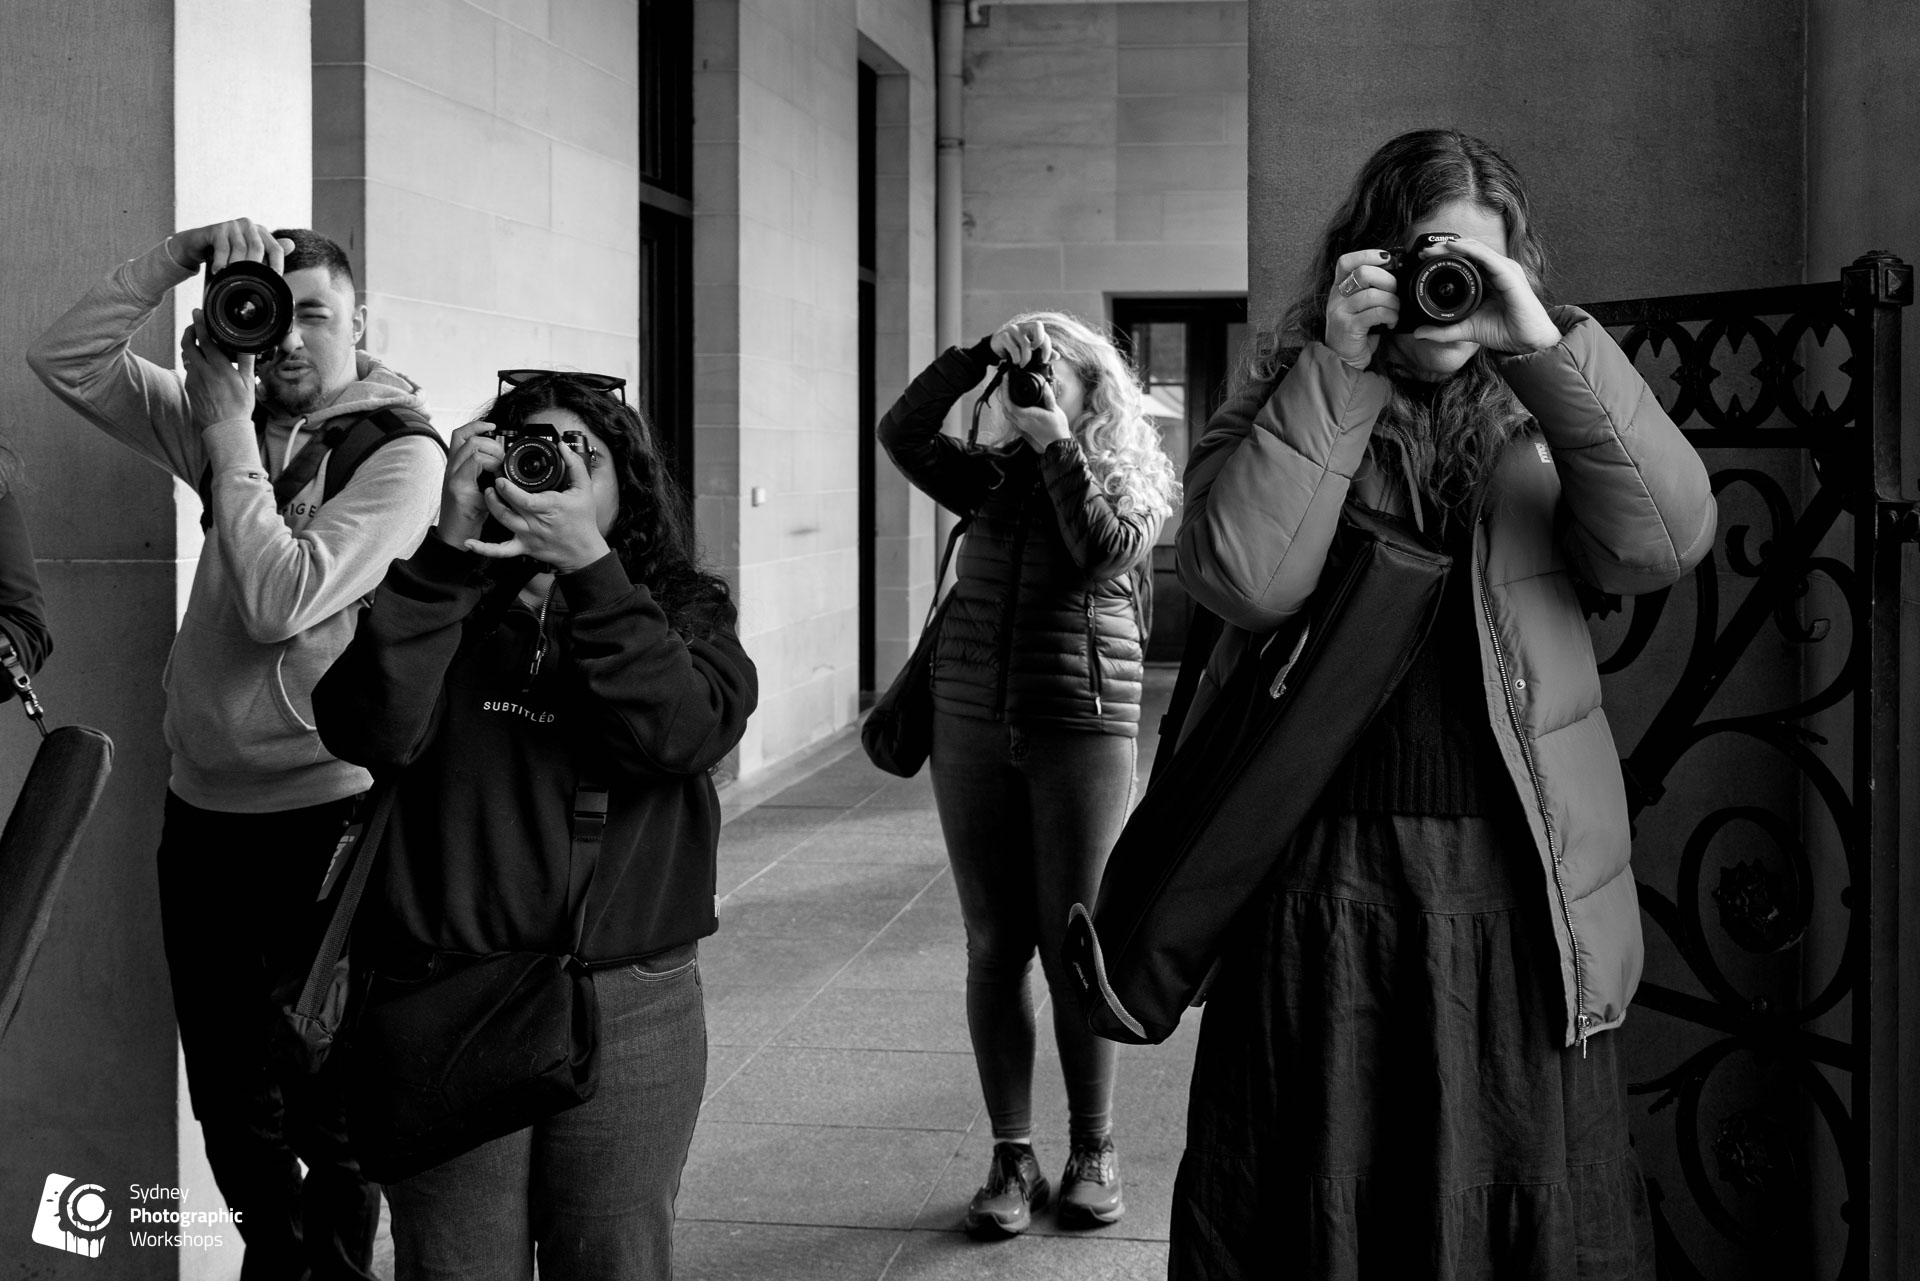
Learning to see with Sydney Photographic Workshops
This is a big part of how we approach photography at Sydney Photographic Workshops. Technical skills matter because they give you control, but the purpose of that control is to give you more attention for the photograph itself.
Throughout the 8-Week Beginner Photography Course, students work with focal length, composition, light, movement, background, timing and image review alongside the camera controls. The aim is to understand the equipment well enough that it stops dominating the process.
Because eventually the most important skill is not knowing what the camera can do.
It is noticing what is worth photographing.
Ready to take your photography beyond the technical settings and start making photographs that actually work?
The 8-Week Beginner Photography Course at Sydney Photographic Workshops covers composition in photography, natural light, position, timing and image review, all taught in a clear, connected sequence so each concept builds on the last.
Boutique classes of no more than 12 participants. Taught in the field, around Sydney and led by award-winning photography professionals who genuinely care about how you see.