Modern cameras automate a lot, but they cannot decide what matters in a photograph. Learn why memorising camera settings is less useful than understanding the decisions behind them. If you are learning photography in Sydney and want to stop guessing and start shooting with intention, here is what you need to know:
- The camera measures light, and you decide what matters.
- Understanding when to use a setting is more important than knowing what it does.
- Three starting decisions cover most situations: what needs to be sharp, how movement should appear, and what the light is doing.
- Manual Mode is a learning tool, not an advanced one.
- A repeatable process builds confidence faster than collecting isolated tips.
- The 8-Week Beginner Photography Course at Sydney Photographic Workshops teaches this approach from the ground up.
Modern cameras can measure light, recognise faces, track eyes and make exposure decisions in a fraction of a second. Yet many beginners still feel uncertain when they raise the camera to take a photograph. The difficulty usually lies in how the separate controls have been taught.
You buy a camera because you want to take better photographs.
Then you turn it on and discover several shooting modes, multiple control dials, autofocus options, metering patterns, ISO values, image styles and pages of menu settings.
You may start in Auto mode. The camera produces a reasonable photograph, but you do not know why it chose those settings. When the next image is too dark, blurred or focused on the wrong thing, you are unsure what to change.
So you watch a few tutorials.
One person tells you to use Aperture Priority. Another says that serious photographers work in Manual Mode. You learn that a low f-number can soften the background, a fast shutter speed can freeze movement and a high ISO can create noise.
The information may be accurate. The difficulty appears when a real subject is in front of you and you still have the same question:
What should I do first?
I see this at the beginning of almost every photography course for beginners I teach in Sydney. Students often know several photography terms before they arrive, but those terms have not yet formed a dependable process.
One of the first things I explain is that they are here to learn photography, not memorise one camera.
Knowing what aperture does is useful.
Knowing when to choose a particular aperture is where photography begins.
The camera can calculate, but it cannot decide what matters
A modern camera can perform an extraordinary amount of technical work.
It can measure the available light and suggest an exposure. It can recognise a face, focus on an eye and continue tracking that eye as the person moves. It may detect animals, vehicles, birds or other subjects and adjust its autofocus behaviour accordingly.
These features are valuable. They improve speed and accuracy, and remove much of the mechanical effort photographers once handled themselves.
The camera still does not understand why you are taking the photograph.
It does not know whether the person or the background matters more. It does not know whether you want a runner frozen sharply or recorded with some movement. It cannot decide whether the bright window behind your subject adds useful context or pulls attention away from the face.
The camera measures what is in front of it. You decide what matters.
Instead of beginning with every control the camera offers, begin with the photograph you are trying to make.
Ask yourself:
- What is the main subject?
- What attracted me to it?
- What needs to appear sharp?
- Is anything moving?
- What is the light doing?
- What should the viewer notice first?
- Is anything distracting from that?
Once those questions become clearer, the settings have a purpose. You are no longer changing numbers because someone told you that a particular setting is correct. You are choosing settings because they help create a specific result.
What a basic mechanical film camera reveals about learning photography
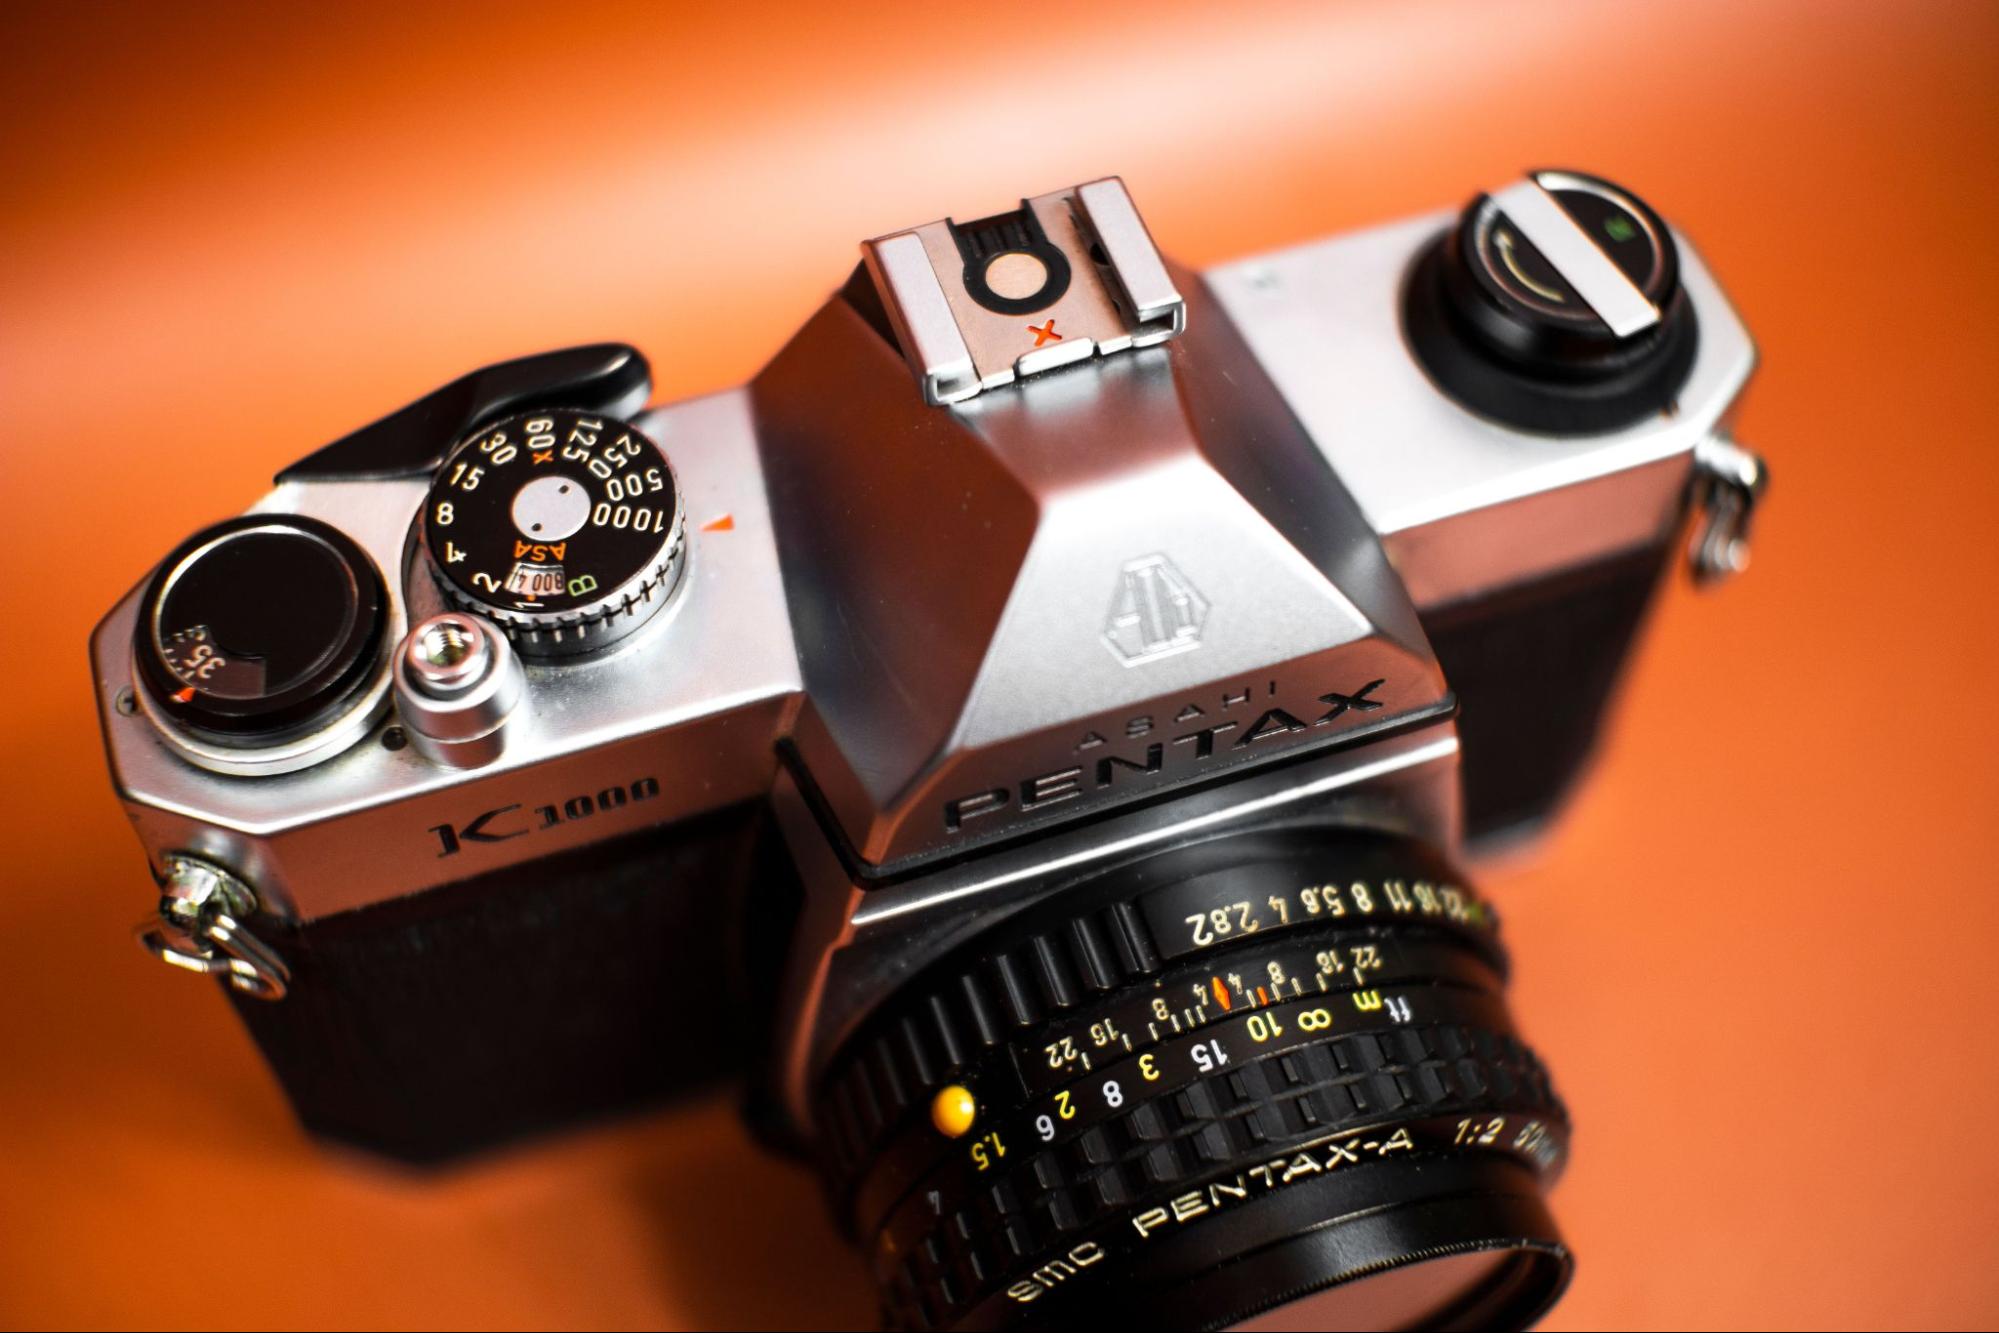
A basic mechanical film camera offers a useful reminder of how little the fundamentals of photography have changed.
It may have only a few essential controls:
- a shutter-speed dial;
- an aperture ring;
- a manual focusing ring;
- a film-advance lever;
- perhaps a simple light meter.
There is no eye detection, autofocus tracking or rear screen. The camera cannot recognise the subject or show you the finished photograph a second after it was taken.
The photographer has to make the decisions.
They choose the shutter speed and aperture. They focus the lens. They decide where to stand, what to include, what to leave out and when to press the shutter.
A current digital camera can perform many mechanical tasks faster and more accurately. The photographic decisions remain familiar.
Shutter speed still affects how movement appears. Aperture still affects depth of field. Focus still determines what appears sharp. Focal length still changes the angle of view and how tightly you frame the scene. Composition still depends on what you include and exclude. Light still shapes the photograph.
Once you understand those things, that knowledge travels with you from one camera to another.
You may need to find where a manufacturer has placed a button or hidden a menu item, but you already know what you are trying to achieve.
Camera models change.
Those principles remain useful.
Why isolated tips often fail beginner photographers
Photography is often taught as a collection of definitions.
Aperture controls depth of field.
Shutter speed controls movement.
ISO helps you keep the aperture and shutter speed you need as the available light changes.
Those explanations are useful, but a real photograph rarely presents one isolated problem.
Imagine photographing a cyclist moving past you.
Knowing that a fast shutter speed freezes movement gives you a starting point, but it does not answer every question.
How fast is the cyclist moving? How close are they? Are they travelling across the frame or towards you? Do you want the wheels completely sharp, or would some blur communicate speed more clearly?
At 1/1000 second, you may freeze the cyclist and the wheels.
At 1/30 second, combined with careful panning, you may keep the cyclist recognisable while allowing the background to blur.
Both approaches can work. They communicate movement differently.
The same applies to aperture.
A portrait at f/2 may separate the subject from a busy background. At close range, with the face turned slightly away, that same aperture may leave one eye sharp and the other soft.
At f/8, more of the face and surroundings may remain clear. That could weaken the portrait, or it could provide useful context.
The number has no meaning without the photograph.
Disconnected tips can leave you knowing more while feeling no more confident. You have several possible answers, but no method for deciding which one applies.
The more useful question is:
What does this photograph need?
This is exactly the approach behind a better way to learn photography; it’s one that starts with understanding why images work, not just which settings to dial in.
3 Practical decisions every beginner photographer should make first
When beginners begin taking control of their cameras, they often try to solve everything at once.
They think about aperture, shutter speed, ISO, focus mode, white balance, metering and all the other settings they have recently discovered.
That is a lot to manage while also trying to notice the subject, light and composition.
In class, I reduce the problem to three starting decisions.
What needs to be sharp?
Start by deciding what is most important in the photograph.
In a portrait, that is usually the eyes. In a landscape, you may want acceptable sharpness through the foreground, middle distance and background. In a street photograph, it may be a person, a gesture or a short-lived relationship between elements.
Once you know what matters, you can make more useful decisions about focus and depth of field.
Modern autofocus systems are highly capable, but they do not know which part of the scene matters to you. The camera may choose the nearest object, the largest face or an area with strong contrast.
It is making a calculation.
You are deciding what the photograph is about.
How should movement appear?
Next, consider both subject movement and camera movement.
Is your subject moving? Are you handholding the camera? Do you want to freeze the action, or would some blur help describe what is happening?
A runner frozen in mid-stride creates a different result from a runner whose hands, feet or background show movement. A waterfall photographed at 1/1000 second records detail in the water. At one second, it records the water’s movement through the scene.
The shutter speed needs a reason.
What is the light doing?
The final decision concerns the light.
Beginners often think only in terms of bright and dark. Direction and quality matter just as much.
Where is the light coming from? Is it falling onto the subject or coming from behind? Is it soft or hard? Is the background brighter than the subject? Are there areas of the frame that will attract attention because they are much brighter than everything around them?
Understanding the light helps you choose practical settings and decide whether your current position is working.
These three decisions will not solve every photographic problem, but they give you a reliable place to begin. If you want to build on them further, the Photography Essentials workshop at Sydney Photographic Workshops covers exactly this framework in a practical, hands-on half-day session.
Treat settings as controls with visible consequences
Beginners often search for the correct aperture, shutter speed or ISO.
Photography rarely gives you one universal combination.
Several sets of settings may produce a similar brightness, but the photographs can look very different.
Aperture affects depth of field. Shutter speed affects movement. ISO gives you more flexibility when the aperture and shutter speed you want are no longer practical in the available light.
Suppose you are photographing one person beside a window. You may want both eyes sharp, some separation from the background and enough shutter speed to record a natural expression without blur.
Now imagine five people standing in two rows in the same room. The light may be similar, but the photograph requires more depth of field. You may close the aperture and raise the ISO so that you can keep a suitable shutter speed.
The settings change because the photograph changes.
Settings are not answers you apply to categories such as portraits, sport or landscapes. They are controls you use in response to the subject, light and result you want.
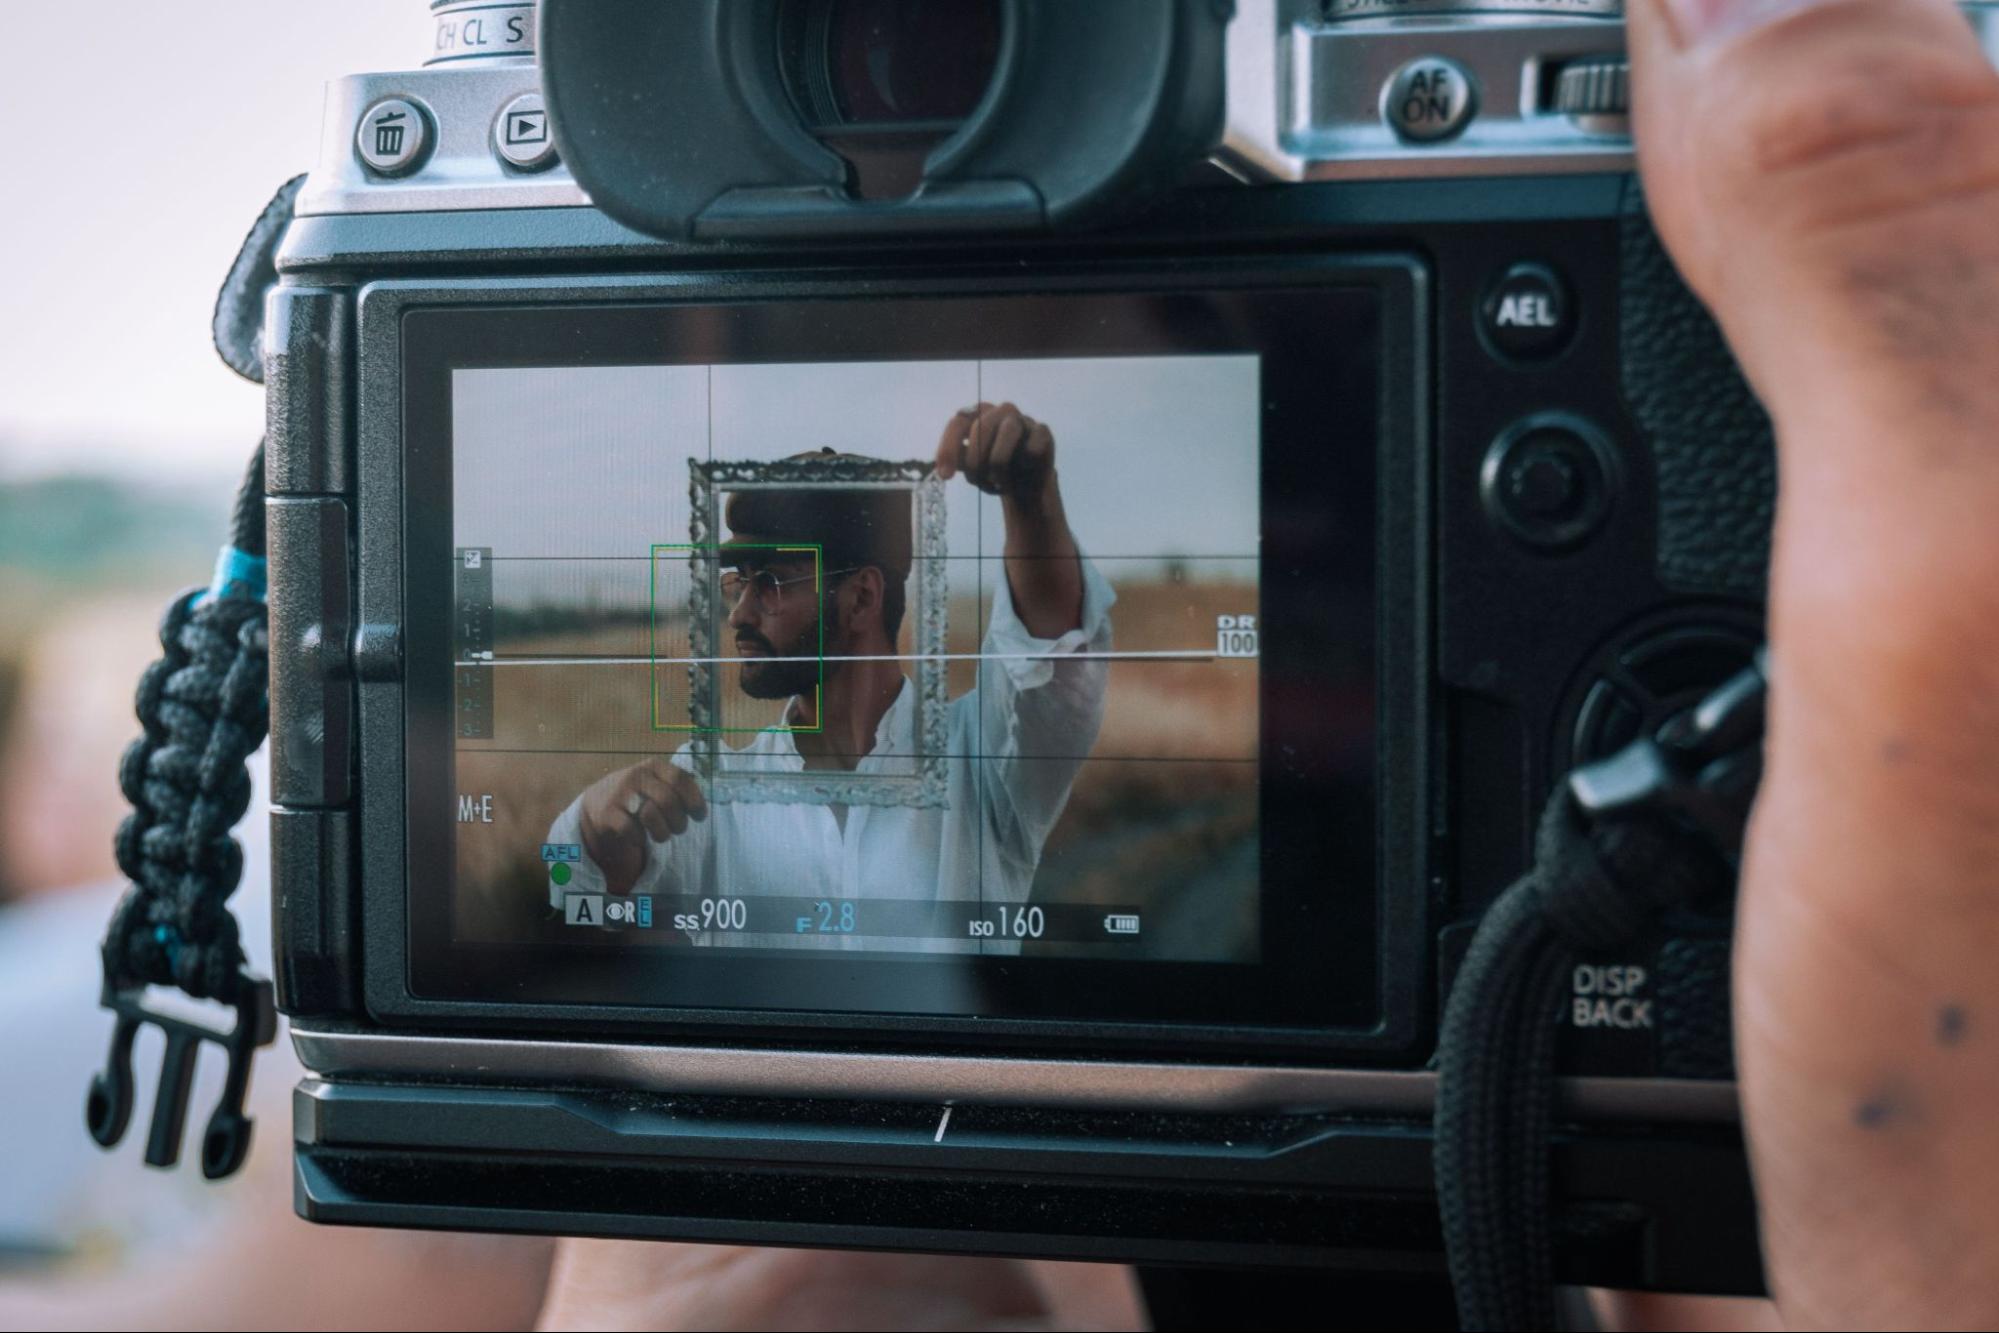
Why Manual Mode can help you learn photography in Sydney
Manual Mode is often presented as an advanced option.
Many beginners assume it belongs to professionals and that they should wait until they have more experience before using it.
Taught in a clear order, Manual Mode can make the relationships between settings easier to understand. We cover this step by step in our guide to how to shoot in Manual Mode.
When the camera automatically chooses part of the exposure, you may receive a suitable photograph without knowing why it selected those values. When the result changes, you may then need to work backwards to understand what happened.
Manual Mode makes cause and effect more visible.
You choose the aperture, shutter speed and ISO. You take the photograph. You see what those decisions produced.
I introduce Manual Mode as a learning tool because it removes some of the mystery around exposure. It gives students a chance to make the decision, see the result and then work out what needs changing.
The mode itself does not create understanding.
A photographer can work in Manual Mode and still turn dials randomly until the meter reaches the centre. Another photographer may work in Aperture Priority and understand exactly why they selected f/4, why they accepted ISO 1600 and why the resulting shutter speed suited the subject.
The skill lies in the decision, not the letter on the dial.
Build a repeatable process to learn photography faster
Individual settings become useful when they form part of a repeatable process.
Without one, every new photograph can feel like a completely different technical problem. You arrive at a scene, begin changing settings and hope the result improves.
A better approach starts before you touch the controls.
Look at the scene. Identify the subject. Check the light and background. Decide what needs to be sharp and how movement should appear. Then choose settings that support those decisions.
A practical sequence might be:
- Identify the photograph.
- Refine your position and composition.
- Decide whether depth of field or movement requires priority.
- Choose settings that support that priority.
- Take a test photograph.
- Review the result.
- Change one thing with a clear reason.
Changing one thing matters.
If you alter aperture, shutter speed, ISO, focus and composition at the same time, you may improve the photograph without understanding which decision helped.
If the subject is blurred, determine why. The shutter speed may have been too slow, the focus may have missed or the camera may have moved.
Those problems can look similar at first glance. They require different corrections.
Use the camera screen as feedback
Digital photography gives you immediate access to the result.
The screen should not be used only to decide whether you like the photograph. It can help you understand what happened.
Ask specific questions.
- Was the focus where it needed to be?
- Did the shutter speed suit the movement?
- Did the aperture create enough depth of field?
- Is the photograph the brightness you intended?
- Did the light help the subject stand out?
- Is anything distracting around the edges?
- Could a small change in position improve the frame?
A disappointing photograph is useful when you can identify what created the problem.
The shift I look for in class is when “The camera did something weird” becomes “My shutter speed was too slow” or “I focused behind them.”
Now there is something to correct.
Practise cause and effect: How beginner photographers improve faster
You do not need a special location to improve your photography.
You need deliberate practice.
Choose a simple subject and change one variable.
Photograph the same object at several apertures and compare how the depth of field changes. Photograph running water or passing traffic at several shutter speeds and observe how movement is recorded. Photograph a person indoors at different ISO settings and see what happens as you use ISO to protect the aperture and shutter speed the photograph needs.
The important part is understanding why you made each photograph.
Ten deliberate frames can teach you more than hundreds taken without a clear decision.
I encourage students to practise when the result does not matter. Leave the camera somewhere accessible. Photograph a cup near a window, someone walking across a room, traffic in the street or light moving across a familiar object.
The subject does not need to be remarkable. You are making a decision, seeing the result and connecting the two.
If you find you want more one-on-one guidance during this stage, private photography tuition in Sydney offers fully tailored sessions that work around exactly what you need to improve.
Slow practice creates faster decisions
At first, photography may feel slow.
You may need time to find the correct dial, check the meter, confirm the focus point and review the result.
That is normal.
Experienced photographers still make many of the same decisions. They have simply made them often enough that the sequence feels more natural.
Speed develops through repetition.
Practising slowly gives each decision enough attention for the relationship between action and result to become familiar.
Eventually, you stop thinking only in terms of camera controls.
Instead of thinking, “I need to change my aperture,” you recognise that the group needs more depth of field.
Instead of thinking, “I need a faster shutter speed,” you recognise that the movement is not being recorded the way you want.
The controls are still there. You just have a better reason for changing them.
The photograph begins before you change the settings
Technical knowledge helps you control the camera. It does not decide where a strong photograph is.
Before adjusting a dial, look more carefully.
Notice the background. Check the edges. Look at the relationship between the subject and the light.
A bright sign behind someone’s head, a tree growing from a shoulder or a cluttered edge can weaken an otherwise well-exposed photograph.
Often, the solution has nothing to do with settings.
Move one step to the left. Lower the camera. Change your distance. Wait for someone to leave the background or enter the frame. Turn the subject slightly towards the light.
These small decisions can change the photograph more than a new lens or camera body.
One of the habits I try to develop in students is the ability to look before raising the camera. What attracted you to the scene? What might get in the way? Is there a stronger position?
Think first. Shoot second.
Technical accuracy does not guarantee a strong photograph
A photograph can be sharp, correctly exposed and focused in the right place, yet still feel unconsidered.
The timing may be ordinary. The background may compete with the subject. The light may not support what you are trying to show. The frame may contain too much information.
Technical control gives you consistency. It helps you record the photograph as intended, but the camera cannot decide what deserves attention.
As beginners progress, the questions begin to change. Instead of judging a photograph only by whether it is sharp and bright enough, they start asking why one frame communicates more clearly than another.
- Why does this frame feel stronger?
- What made me notice this moment?
- Where does my attention go first?
- What could I remove?
Those are much more interesting questions.
Understanding develops through connection
Photography becomes easier when the individual concepts begin to connect.
A wider aperture may require a faster shutter speed. A faster shutter speed may require a higher ISO. A longer focal length can make camera movement more noticeable. Moving closer to the subject can reduce depth of field. Changing your position can completely alter the composition and the relationship between your subject and background. Our guide to aperture, shutter speed and ISO explains how each of those controls changes the photograph itself.
Random tutorials can give you useful information while leaving those connections largely up to you.
A structured approach gives each idea somewhere to belong.
You learn one concept, practise it and see the result. Later, you use it again alongside focus, movement, light or composition.
The first time you learn shutter speed, you may simply compare frozen and blurred movement. Later, you use that same understanding while also dealing with continuous autofocus, framing and timing as a subject moves through the scene.
The shutter speed has not become more complicated.
You are simply asking it to work alongside everything else.
What progress looks like in a photography course for beginners
Progress does not mean you stop making mistakes.
Experienced photographers still miss focus, misjudge exposure and choose the wrong moment.
The difference is that they can usually identify the cause.
They can look at a photograph and recognise that the shutter speed was too slow, the focus point landed on the background, the aperture gave too little depth of field or the camera position created a distracting composition.
One of the most common things I hear from beginners is:
“Maybe I need a better camera.”
Sometimes new equipment is genuinely useful. More often, there is something worth investigating before reaching for the credit card.
- Was the shutter speed appropriate?
- Where did the camera focus?
- Was there enough depth of field?
- Could you have moved?
- Was the light better somewhere else?
Once you can identify the problem, you can make a better decision on the next photograph.
Confidence grows from understanding what happened and knowing what to change.
The goal of learning photography in Sydney
Cameras change. New models arrive. Menus are redesigned and more decisions become automated.
The underlying photographic decisions remain recognisable.
Learning photography in Sydney, or anywhere, means understanding how light, focus, movement, depth of field, focal length, timing and composition work together. It means knowing why you selected a setting, reviewing the result and making a deliberate correction when the photograph does not match what you intended.
Manual Mode can be an important part of that education, but it is one tool among many.
Once you understand what the camera is doing, you can choose Manual Mode, Aperture Priority, Shutter Priority or another suitable option because you know what you want to control and what you are comfortable allowing the camera to handle.
The camera becomes less intimidating because your decisions become clearer.
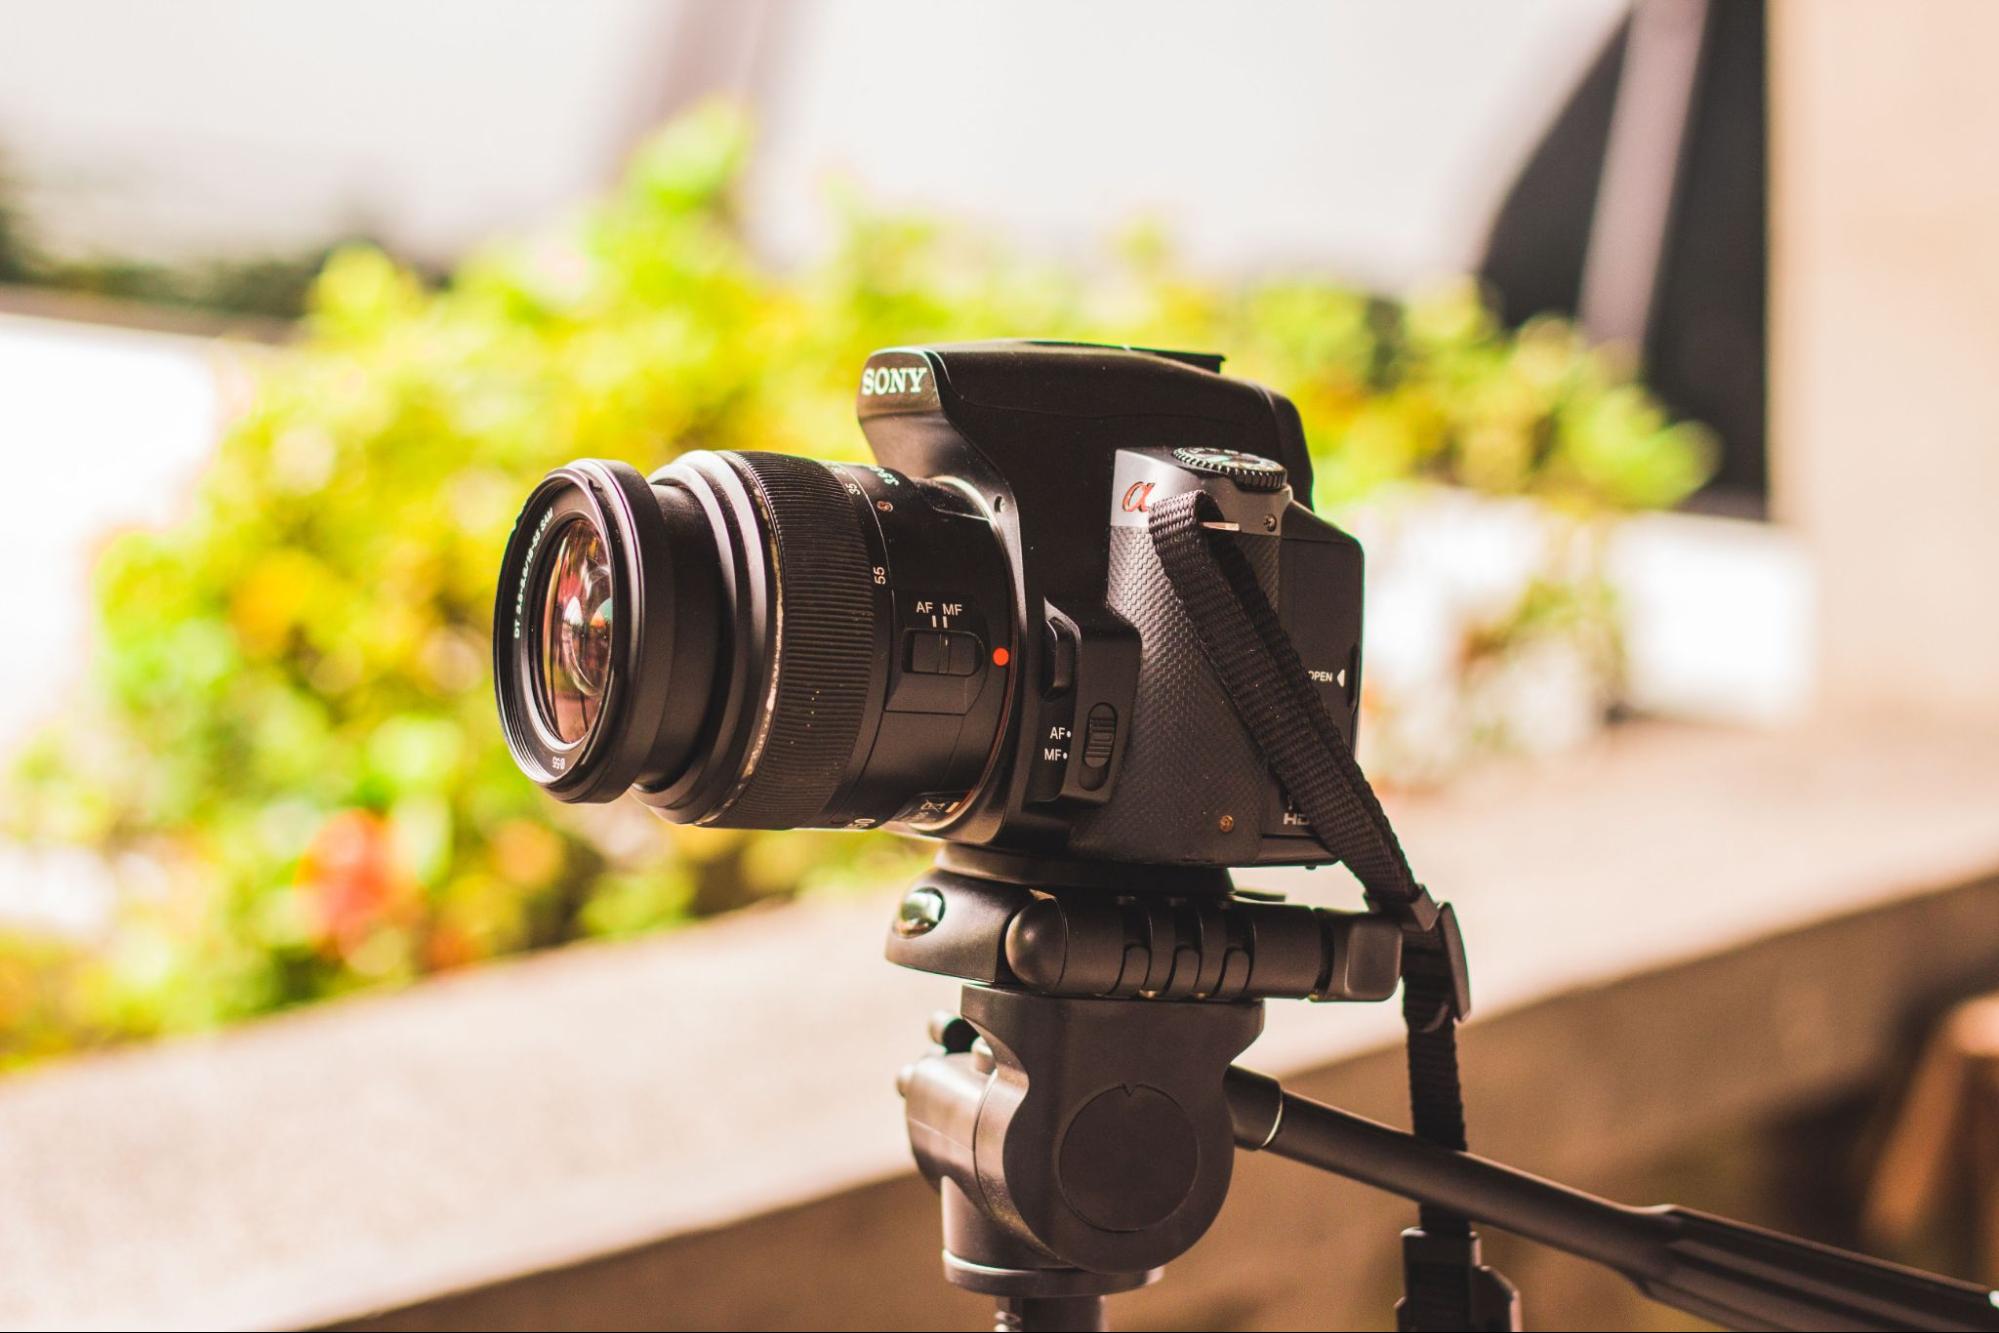
Learning photography with Sydney Photographic Workshops
This is the approach behind the Sydney Photographic Workshops 8-Week Beginner Photography Course.
The course introduces the fundamentals in a practical order, then reconnects them through exercises, image review and real photographic situations.
You work through camera handling, focal length, focus, exposure, ISO, shutter speed, aperture, Manual Mode, light, colour and composition. Each stage builds on what came before it.
You practise between classes, apply the process during a Sydney field trip and receive feedback on your photographs.
The aim is practical: to help you stop guessing, understand the decisions behind your settings and make photographs with clear intent.
Ready to stop guessing and start shooting with intent?
Join Sydney’s most popular beginner photography course. 8 weeks, 19 hours, taught by award-winning professionals. Boutique classes with a maximum of 12 participants.